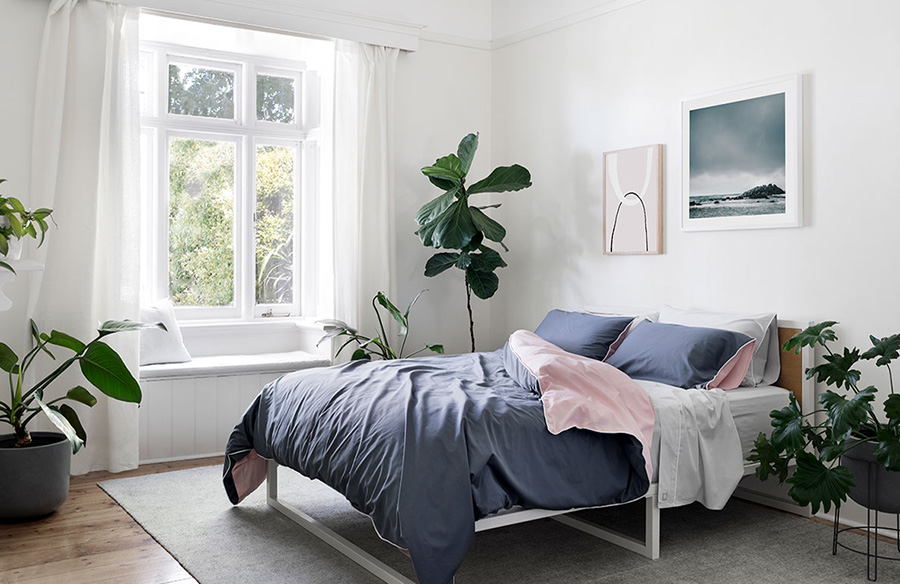
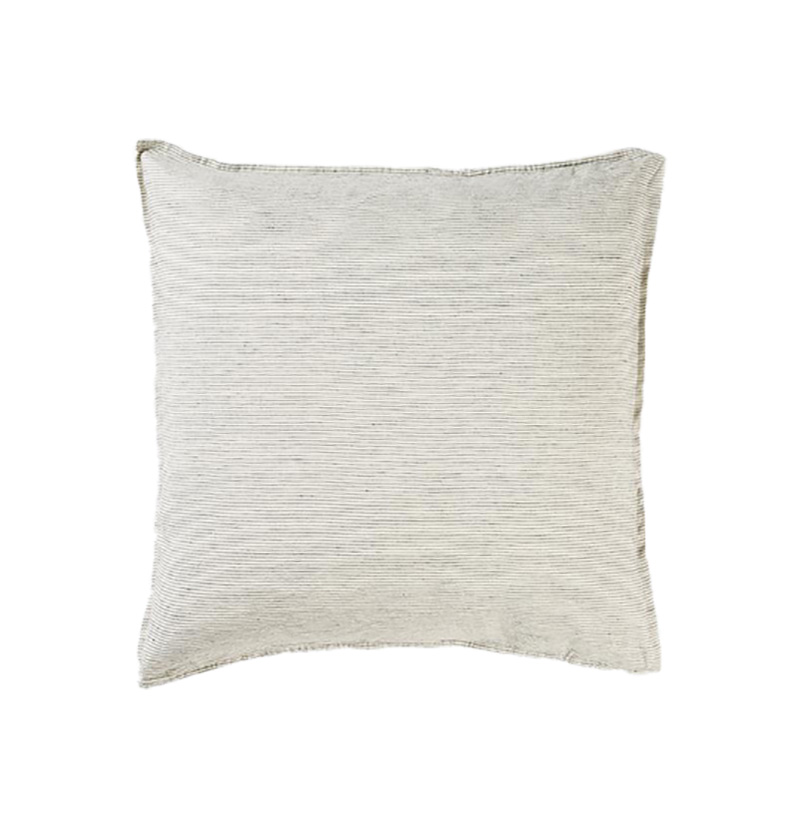
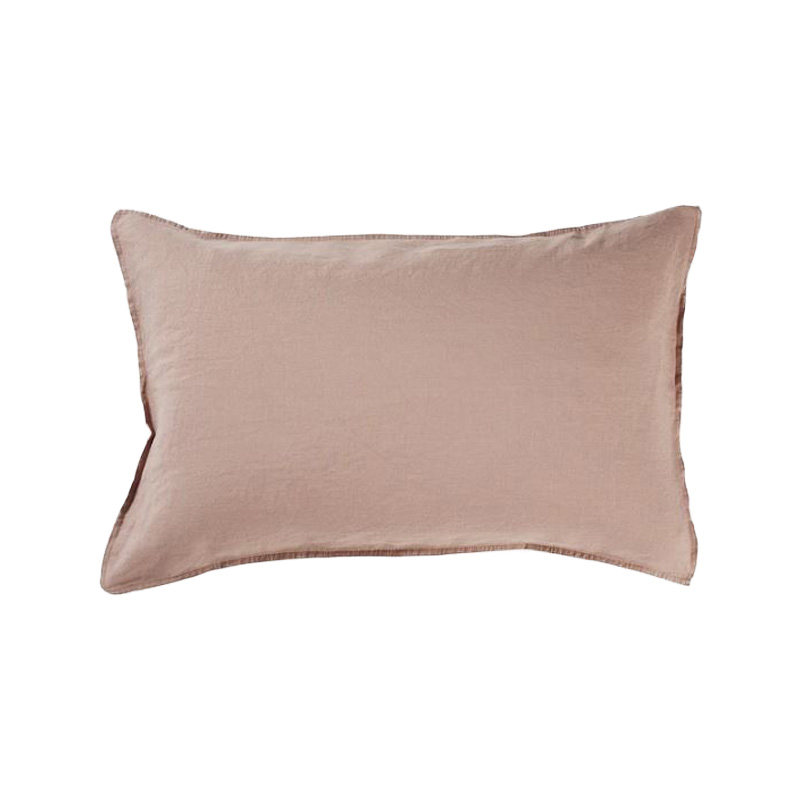
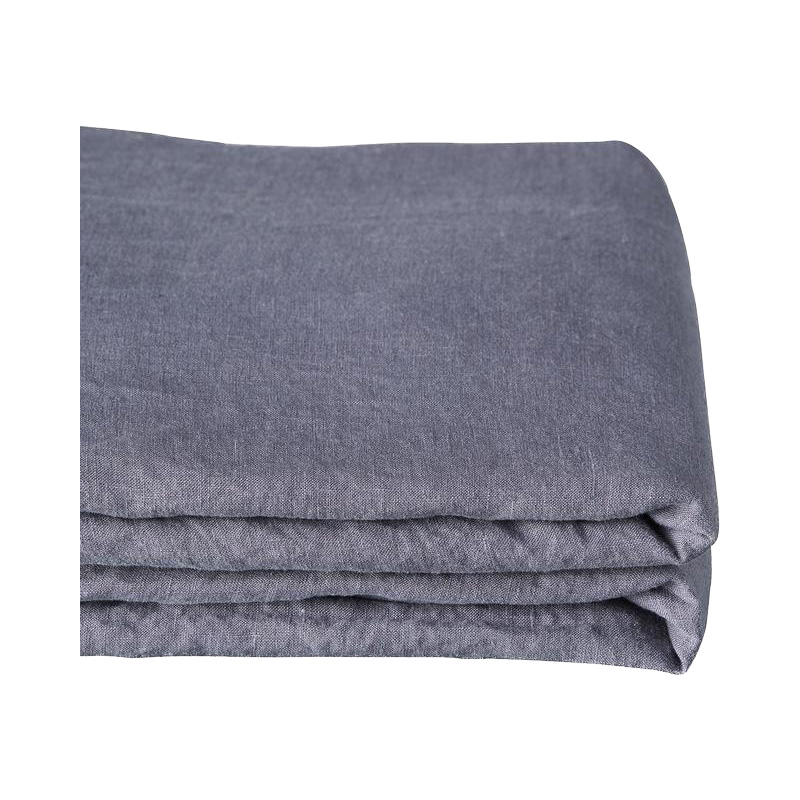
Admittedly, I have a long time obsession with all things bedding and have been styling countless of them over my time at Hunting for George. A lot of them have ended up in a lot of magazines so today I’m going to show you how you can get that picture perfect look at your place. So if you want to learn how to style your bed like a pro, this one’s for you!
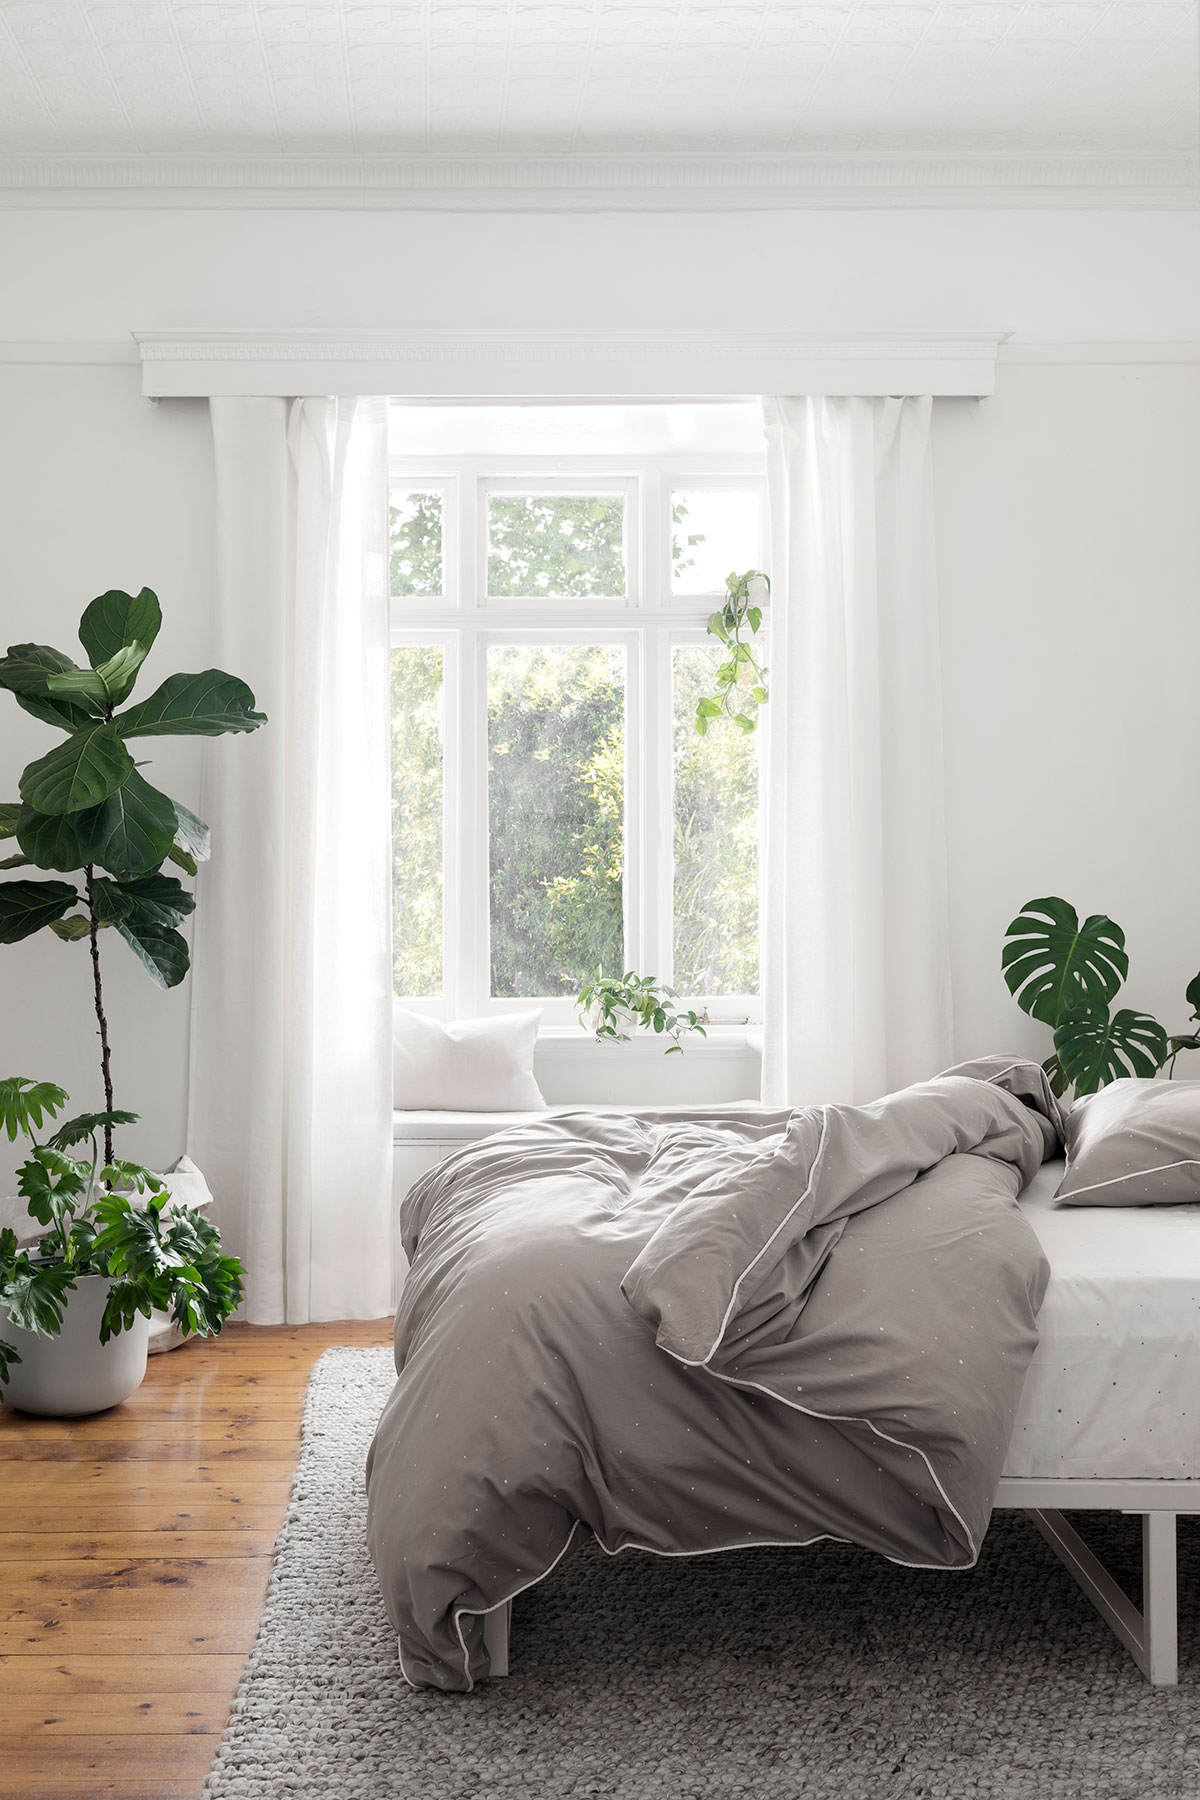
What you’ll need:
- Flat Sheet
- Fitted Sheet
- Quilt Cover
- Pillows & Pillowcases
Procedure:
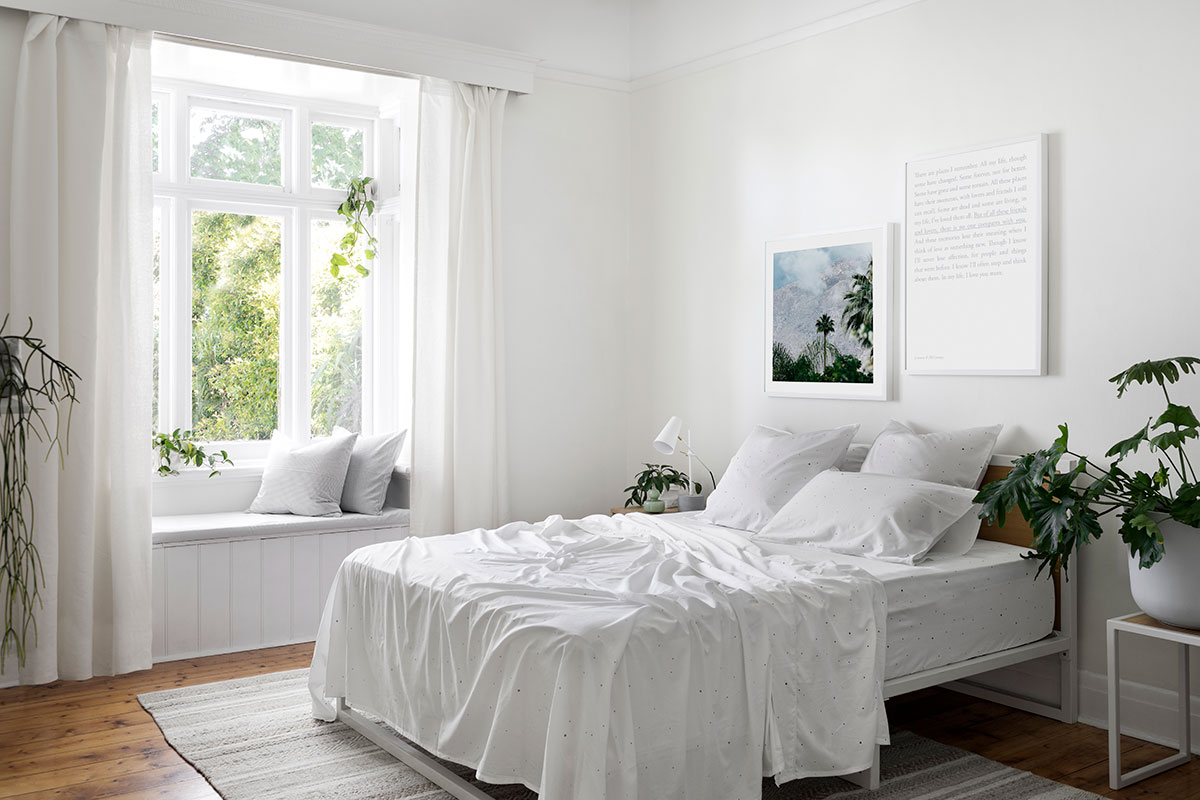
- First things first, get your favourite fitted sheet on. It would be nice to get it fitted evenly without any creases or wrinkles. This would allow you to have a perfect base to start with.
- Grab your flat sheet and lay it over the bed. The trick with the flat sheet is you want to make sure that you actually have enough to style with. Pull it up so it’s going over the top of the mattress – you’ll know why in a bit.
- Once you have your flat sheet laid out nice and even, do a ‘hospital corner’ by tucking the sheet in at the base first, then pull the excess flat sheet upwards on the side, tuck in the loose sheet on the underside whilst continuing to hold the raised sheet; then fold it down on a 45 degree angle and tuck in the excess just over halfway to create a really neat bottom corner.
STYLIST TIP: Upsize your quilt cover for a plush look. Otherwise if it was the exact size it will fall just a bit shorter and it won’t have that overlapping effect and won’t look as beautiful.
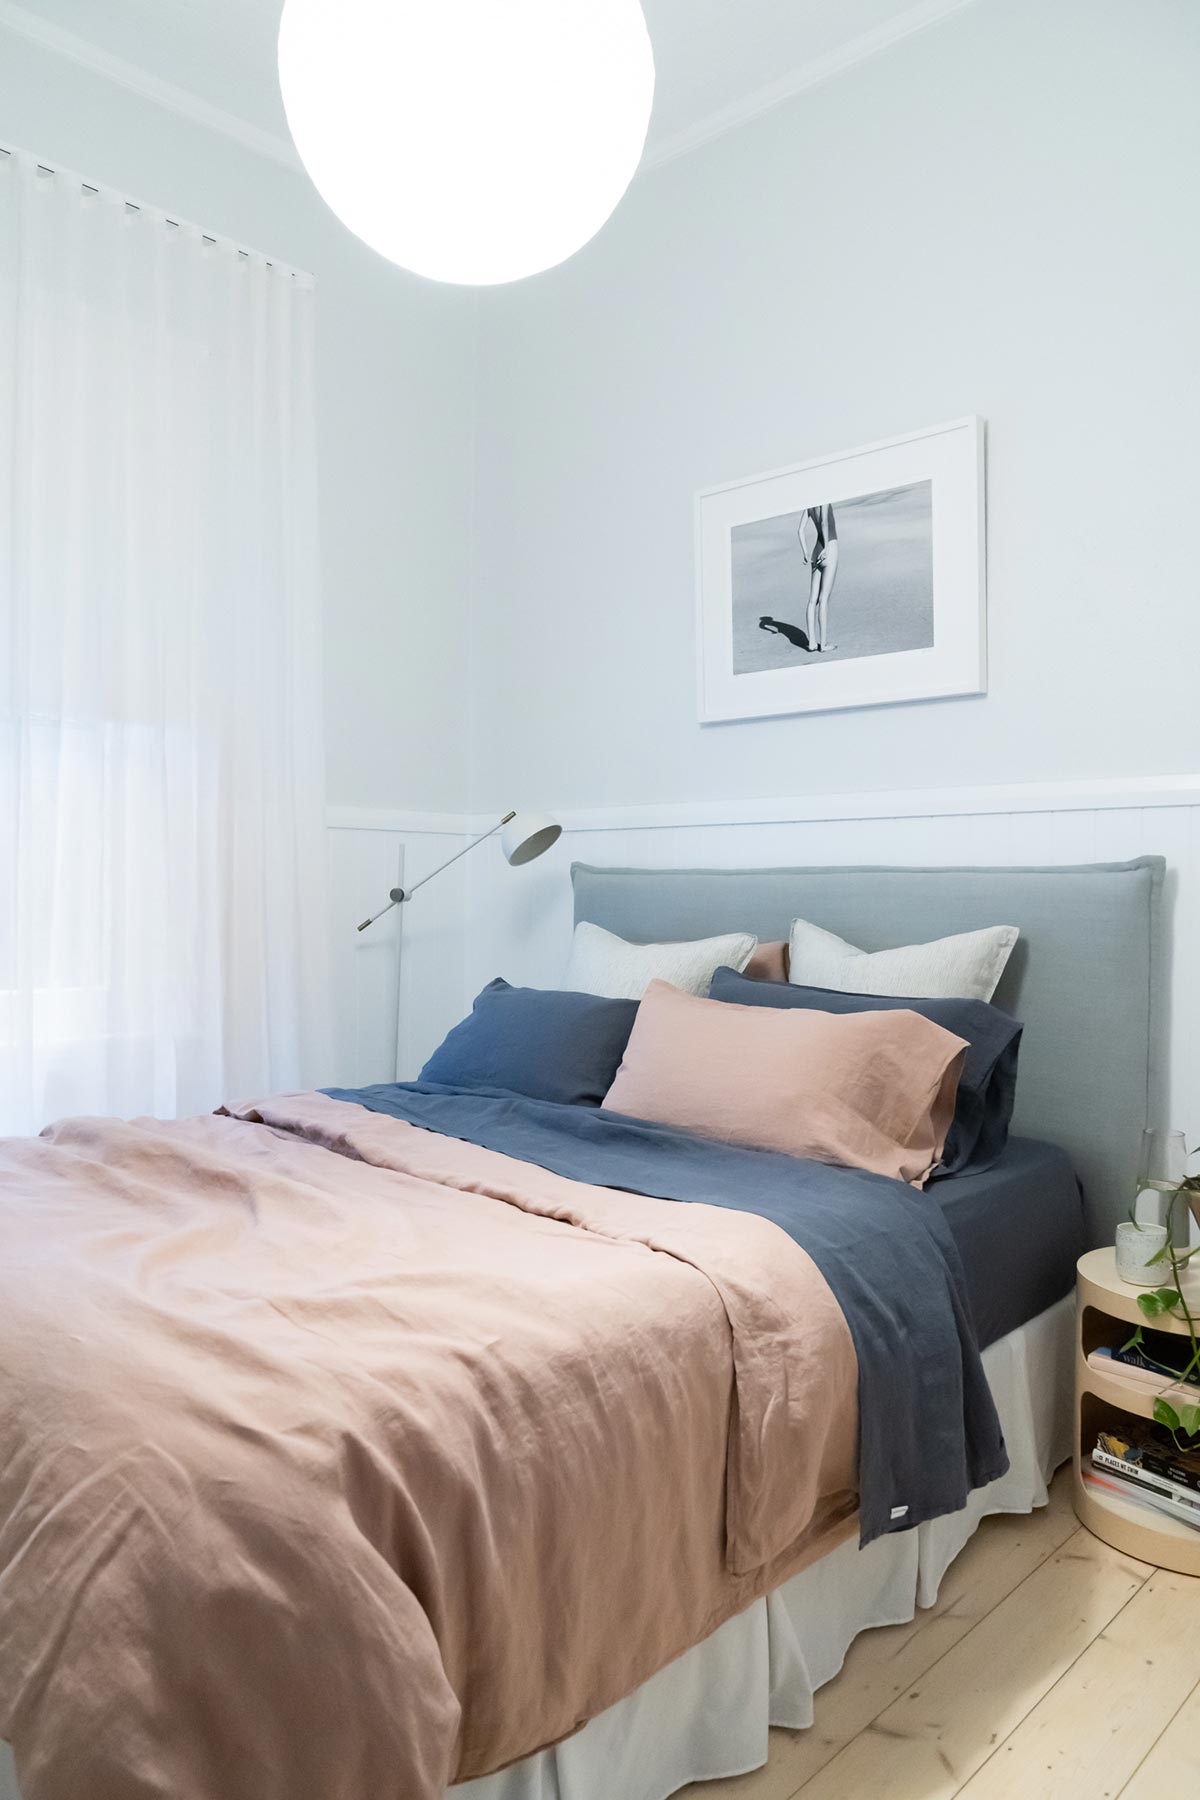
- After putting on the flat sheet, we’re going to bring in the quilt cover. Lay the quilt cover evenly on the bed, then grab the top and fold it over. Remember the extra bit of length with the flat sheet? Grab that as well and fold it over the top of the folded quilt, make sure that it won’t fully overlap with the other. Don’t worry about making it perfect, just flick it over and hopefully it will fall into a nice and natural position.
- Once we’ve got the fitted sheet and quilt cover on, we need to bring in the pillows. For most beds you’re always going to have matching pillows from the sheet set and quilt set, but the number of pillows you choose to have on your bed is completely up to you.
- It’s also great to have some irregularity; so personally I’d like to mix them up and bring in a different shape by including some Euro pillows in the mix. You can play around with a composition that you’re happy with, but my personal favourite is placing one Euro at the back of the standard pillows and another Euro in between two. This creates a unique texture and an asymmetrical yet well balanced composition.
STYLIST TIP: Prop up any ‘lost’ pillows and do the ‘karate chop’ for added texture.
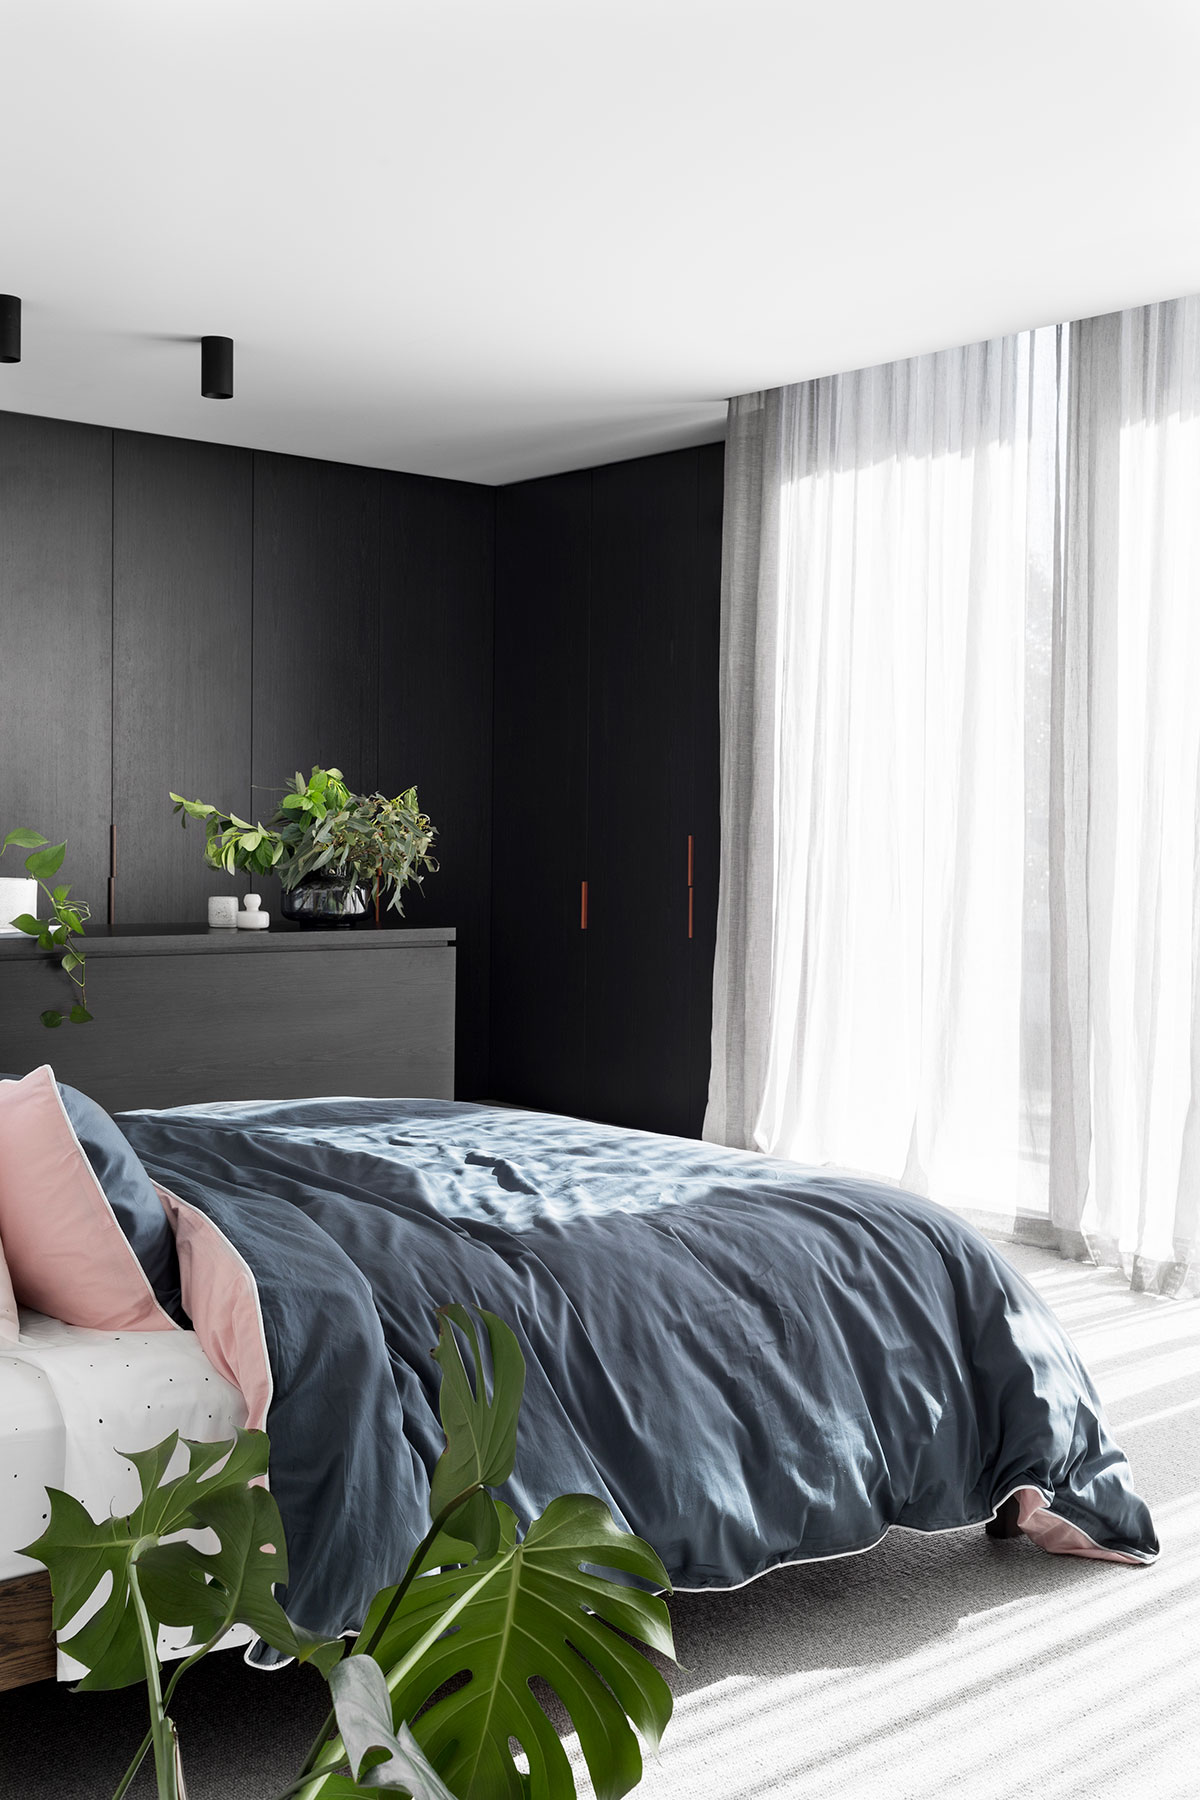
- Once these are all set, you want to create a wrinkled ripple effect to add a bit of visual interest to the bed. In order to create that, I usually come in and add texture to the quilt by fluffing it up underneath to create some ‘natural’ and irregular curves.
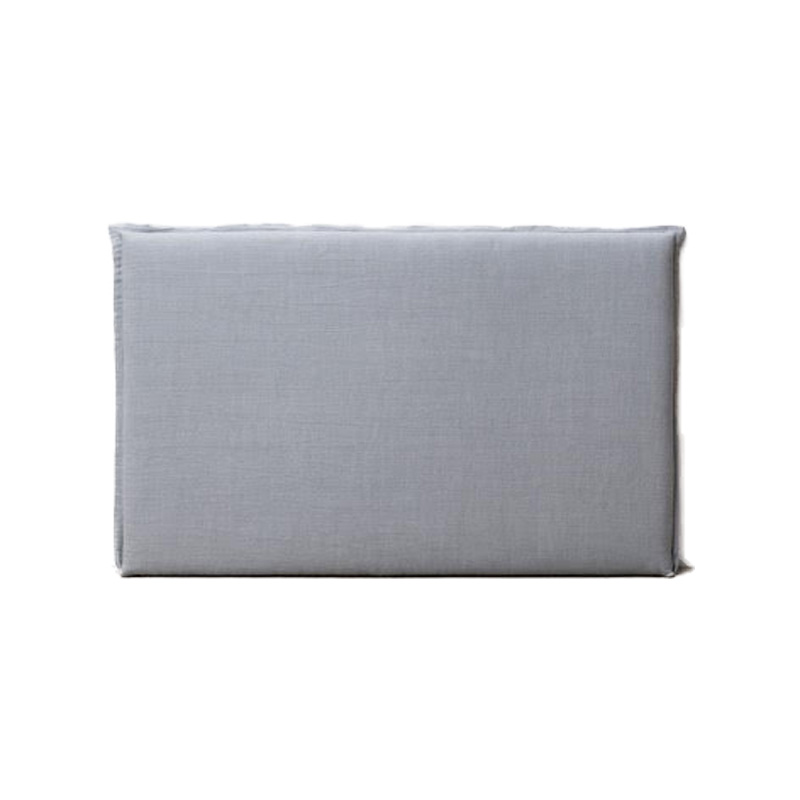
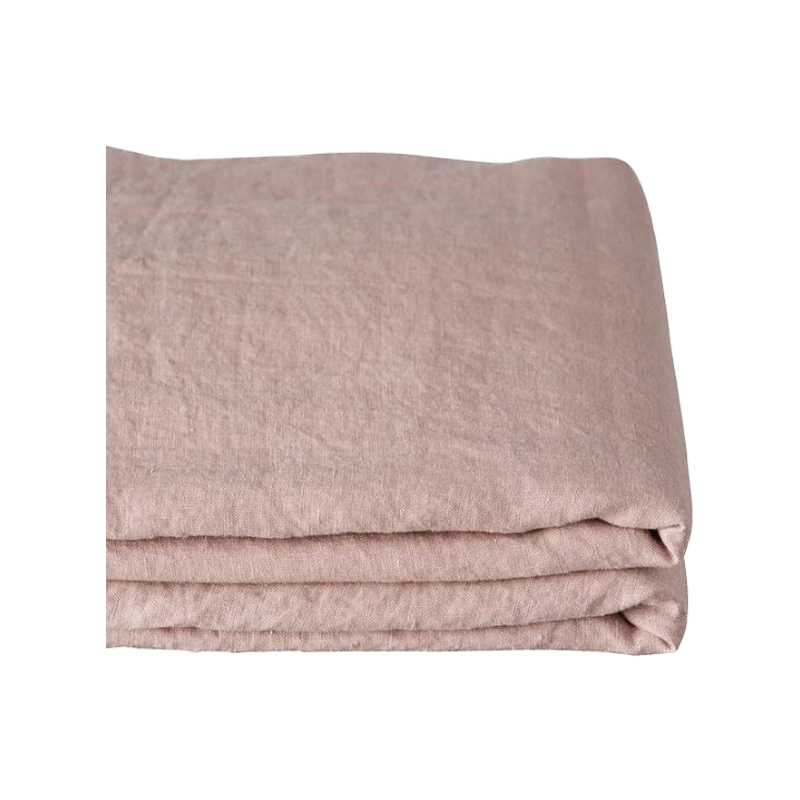
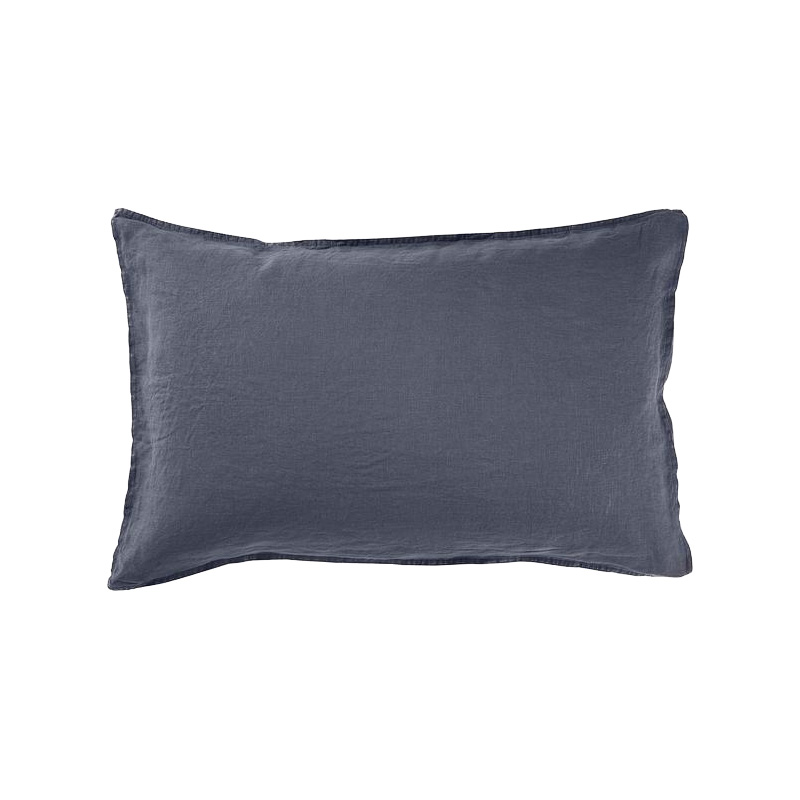
Get the look
And that’s how you prepare a bed that’s ready for a cover of a magazine! Let us know if you enjoyed this little ‘how to’ and if you want to see more of these, let us know in the comments. If you haven’t done yet, please consider subscribing to our YouTube channel as we have plenty more coming your way!


