If there’s one thing we hear a lot is how much you guys love our bedlinen! I love creating inspiring bedroom spaces and I have been styling beds for the better part of a decade. Do you have any idea how many beds that is? Because I’ve lost count. So to celebrate the release of our Classics Collection I wanted to show you how I style Hunting for George beds to get them ready for a picture perfect photoshoot. So if you want your bedroom to look like it’s straight out of the cover of a magazine, then this one is for you!
1. Get the fitted sheet on
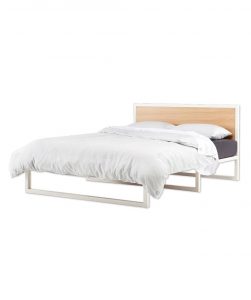
First things first. Grab your favourite fitted sheet (preferably the one you’ve folded neatly in the cupboard thanks to our How to Fold a Fitted Sheet guide) and cover your mattress. Make sure to put the sheet on tightly to avoid any wrinkles or creases. It’s always a good idea to iron beforehand if you want a crease free look, I also like to iron the fitted sheet once it’s on the mattress to get out any extra creases. You can also use a steamer but personally I think an iron works better!
2. Flat sheet up next
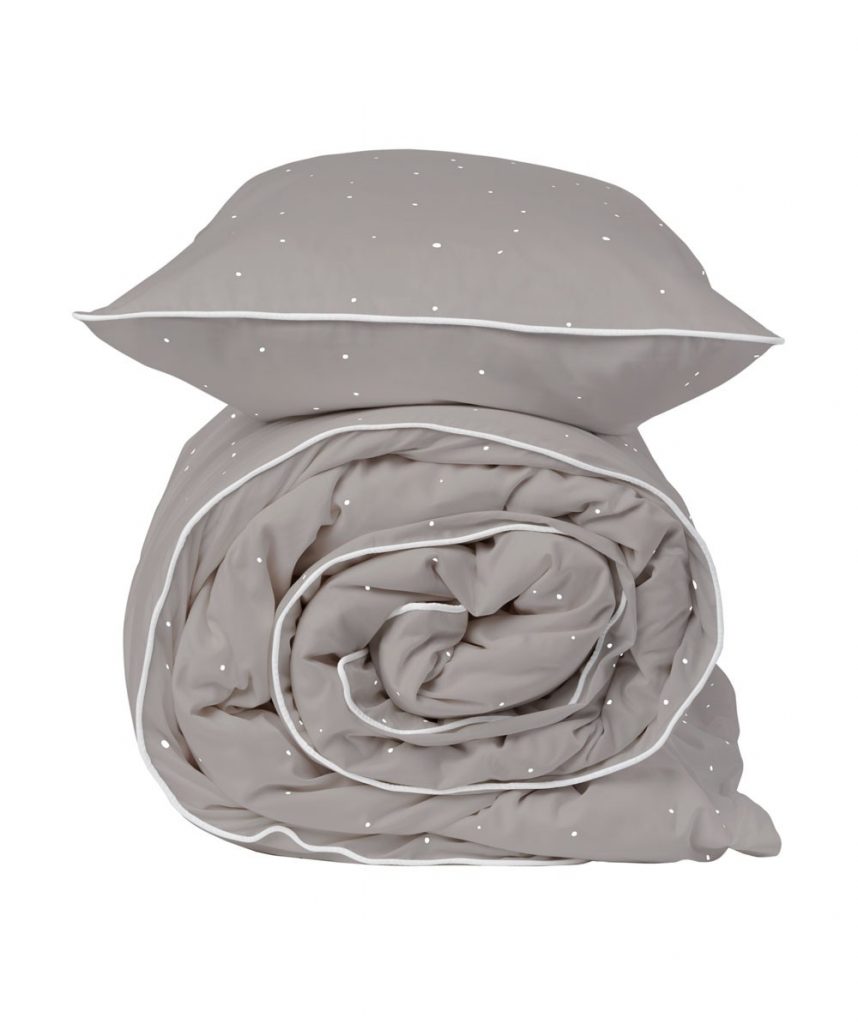
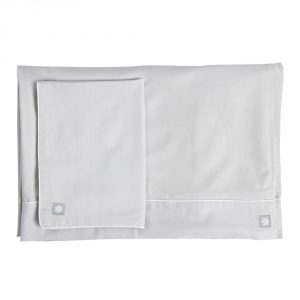
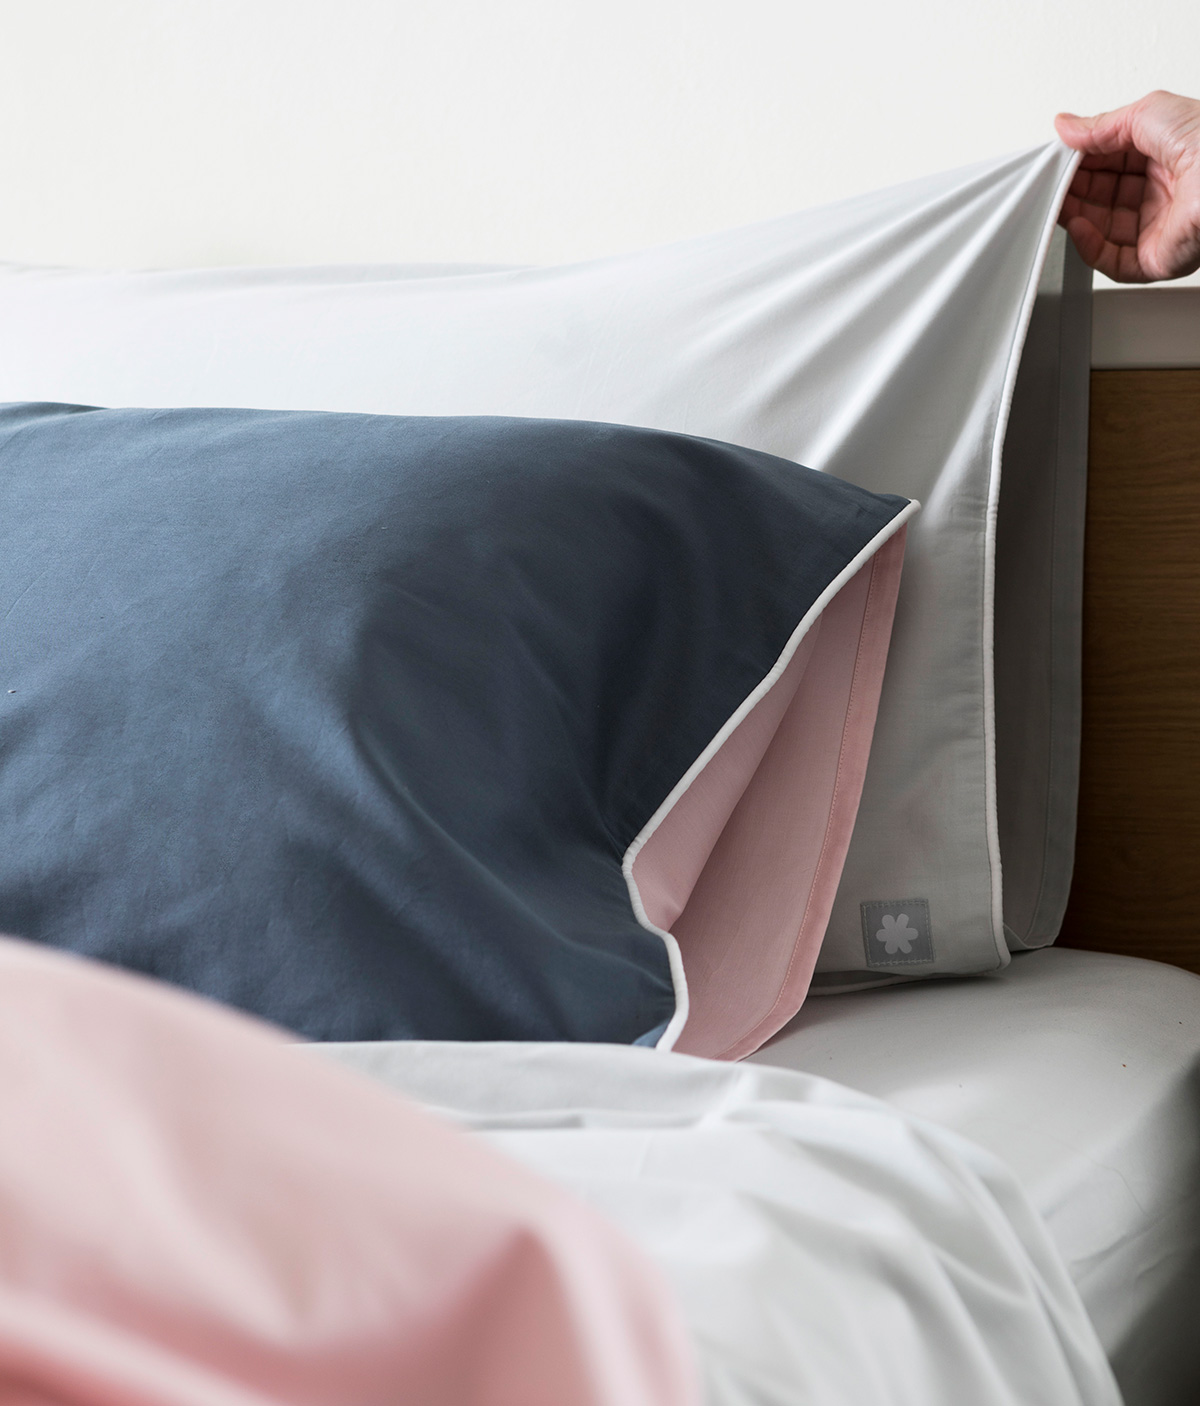
Grab your flat sheet and lay it over the bed. When styling with Hunting for George flat sheets you want to make sure that the side featuring the piping faces down towards your mattress. On this occasion I styled the Smoke Sheet Set which features beautiful white piping. Pull the piping edge of the flat sheet to the very top of your mattress and then even out the sheet over your mattress. Make sure you centre the flat sheet over the mattress, you can check this by looking at how much excess is on either side. If it’s out of whack, even it up so it’s symmetrical.
3. Tuck in corners
Once you have your flat sheet laid out nice and even, you want to tuck in the bottom corners starting from the base. If you want you can do a hospital corner, I’m no expert like Jo (who is actually a Nurse and can do them much better than I can!) however it’s a handy way to keep your flat sheet neat and tidy. To do a hospital corner start by tucking the sheet in at the base first, then pull the excess flat sheet upwards on the side, tuck in the loose sheet on the underside whilst continuing to hold the raised sheet. Then fold it down on a 45 degree angle and tuck in the excess. If you’re reading this and you’re like ‘I do what and then what?’ it’s best to see it in the flesh. So head to the 1:19 mark of the video for a visual guide and reference. Don’t worry about making it perfect, because you’re only going to kick them out anyway 😉
4. Reveal the piping
Once you have both your bottom corners of the flat sheet tucked then grab the top of the flat sheet and fold it over. This is why I told you to lay your piping side face down, because when you turn it over you get it see it in all its glory! This is a small thing but trust me, I’ve forgotten to do this a few times and it’s really annoying to have to start again. Also, this is how we’ve designed our sheets to be slept in, with the piping side away from your body.
5. Complete the set
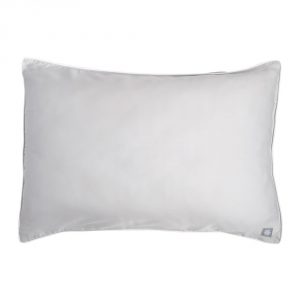
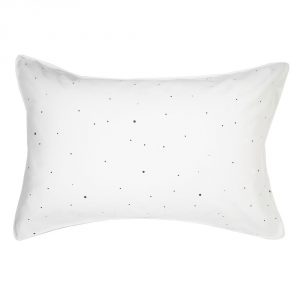
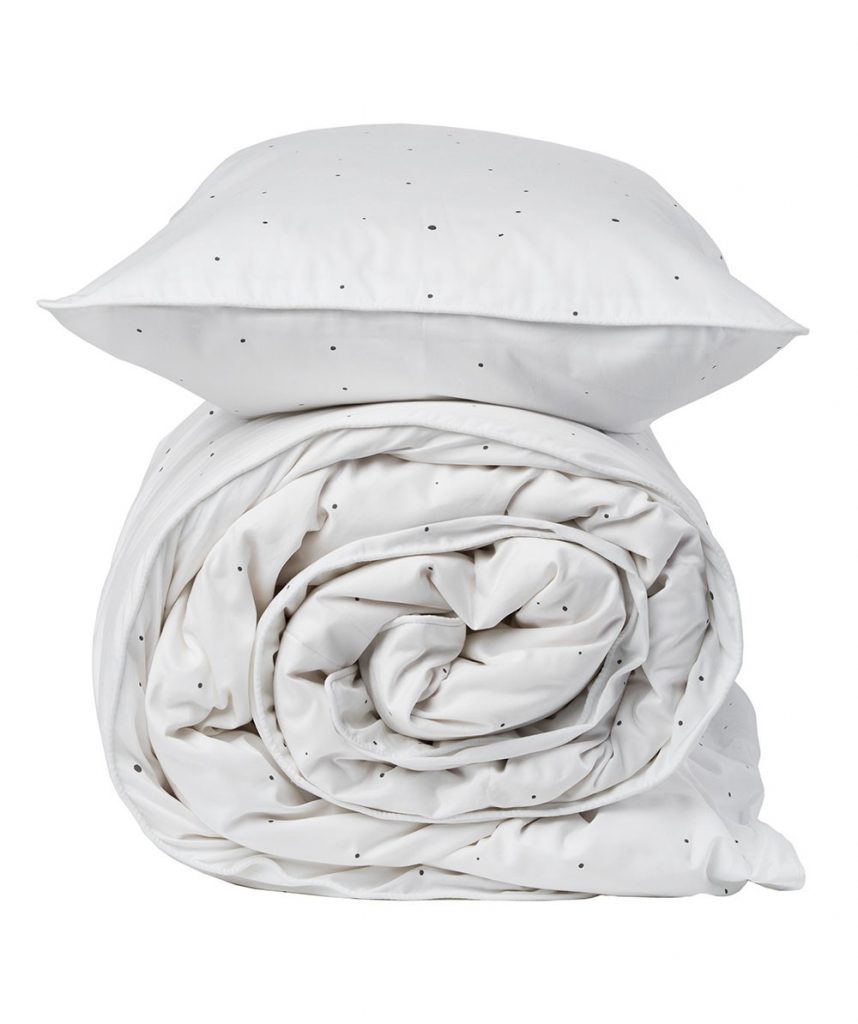
A Hunting for George Sheet Set comes with a fitted sheet, flat sheet and 2 pillowcases. So once you’ve got your sheets on the bed, add in your matching pillowcases. The number of pillows you choose to have on your bed is completely up to you! Personally I’m a 4 pillow kinda gal. 2 that match my sheet set and 2 that match my quilt cover. You can also add in European sized pillowcases, but I’ll get to that later.
6. Choose Your Quilt Cover
Once you’ve got your sheet set on the bed, now comes the easy part. Fold your favourite quilt cover over your doona (or duvet if that’s how you roll) and make sure that you fill the corners. Give it a good shake to make sure the doona sits evenly within the cover and then layer over your bed.
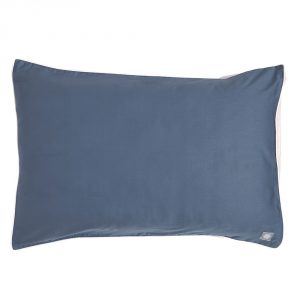
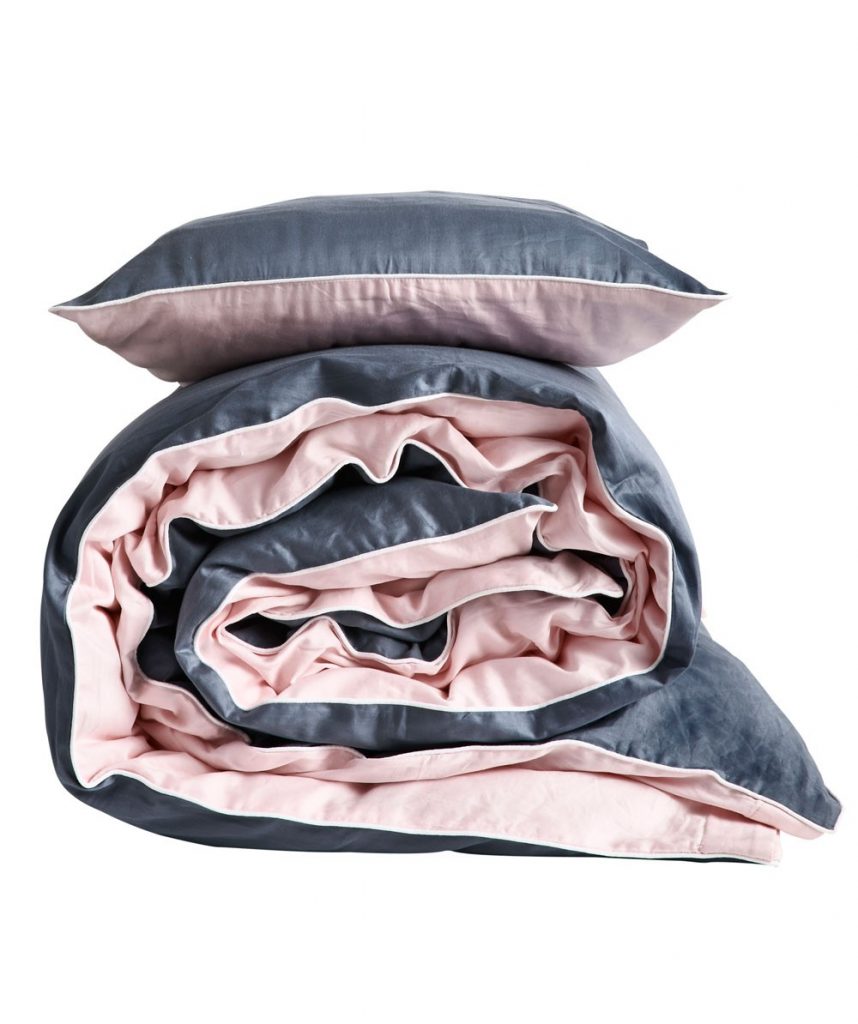
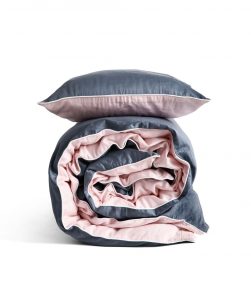
Take note that the design and style of your quilt cover will set the tone for your entire bedroom as it is the mostly pronounced element in the space. I chose to style our Mr and Mrs Smith Quilt Cover Set which has the flexibility of a reversible design, with grey navy on one side and a pale pink on the other. I opt for the dark side face up and then I like to ‘flick’ over the top of the quilt to reveal the gorgeous contrasting underside. Check out below…
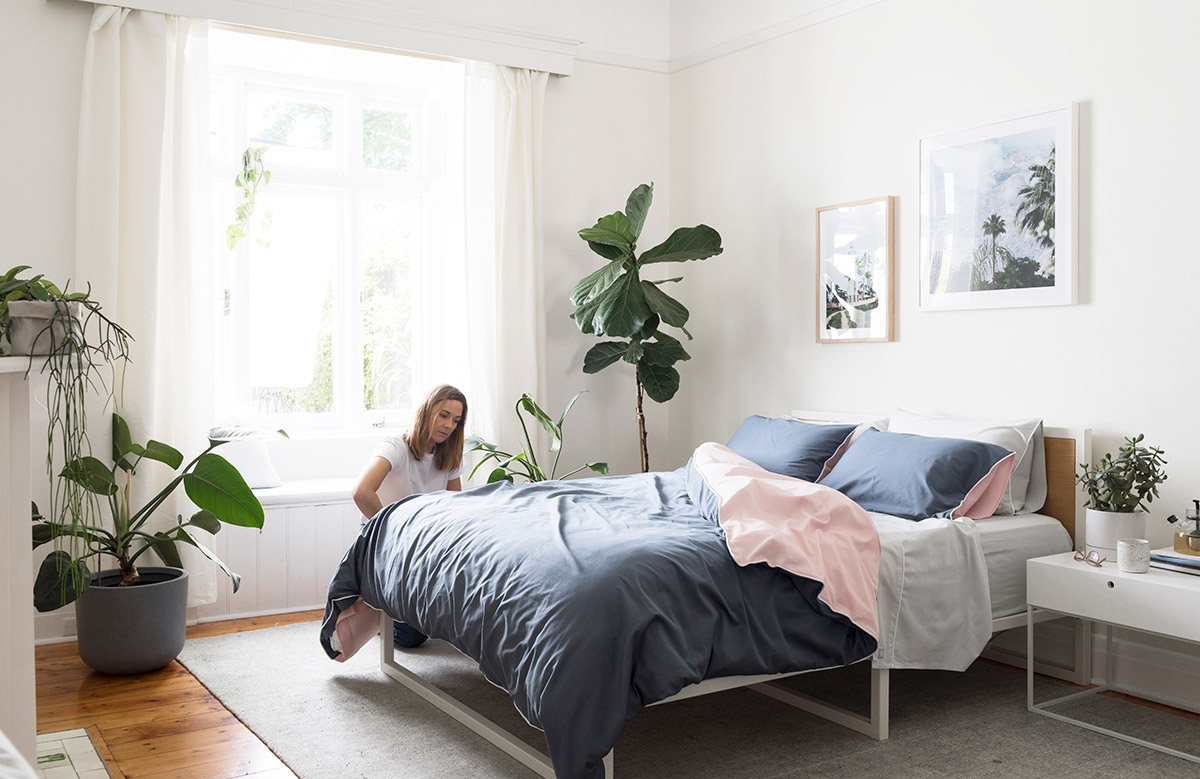
Our Hunting for George Quilt Cover Sets come with 1 x Quilt Cover and 2 x matching pillowcases. Once your quilt is on the bed, throw in your matching pillows. You can choose to have the same colour at the front, or I often like to switch them around to have 1 pillow from the sheet set and 1 pillow from the quilt cover set at the front. This is a look that you will see a lot on our Hunting for George bedroom campaigns.
7. Add some cushions
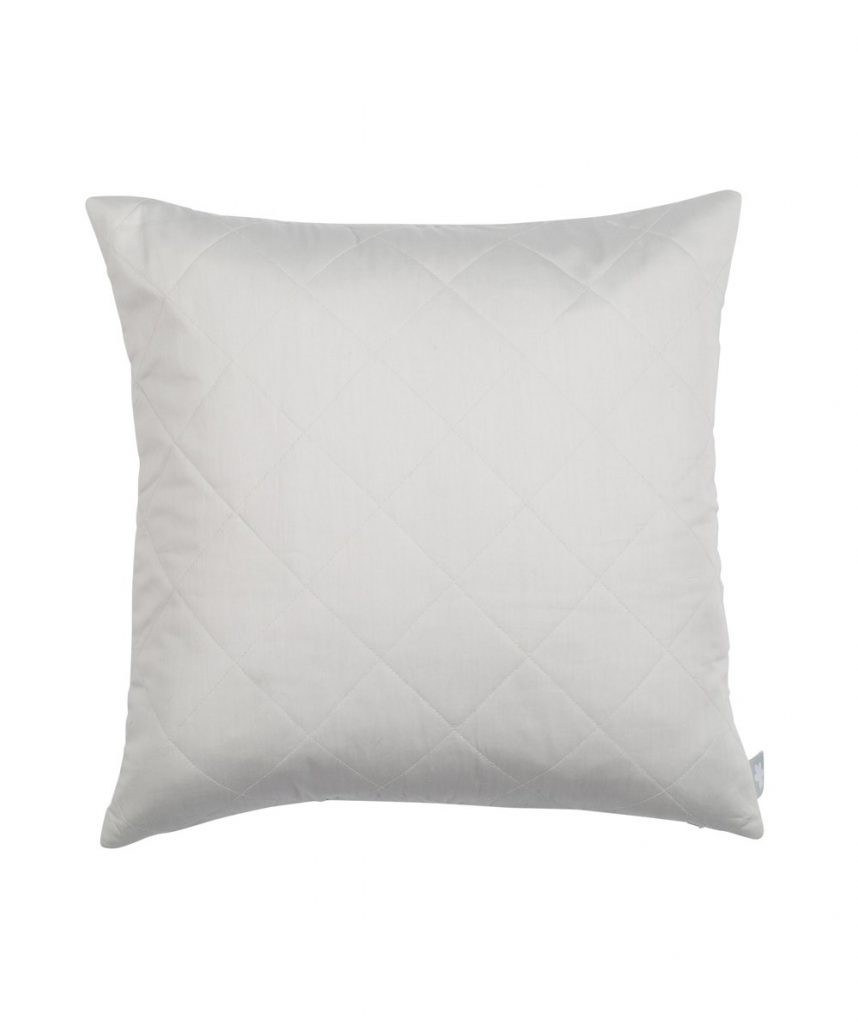
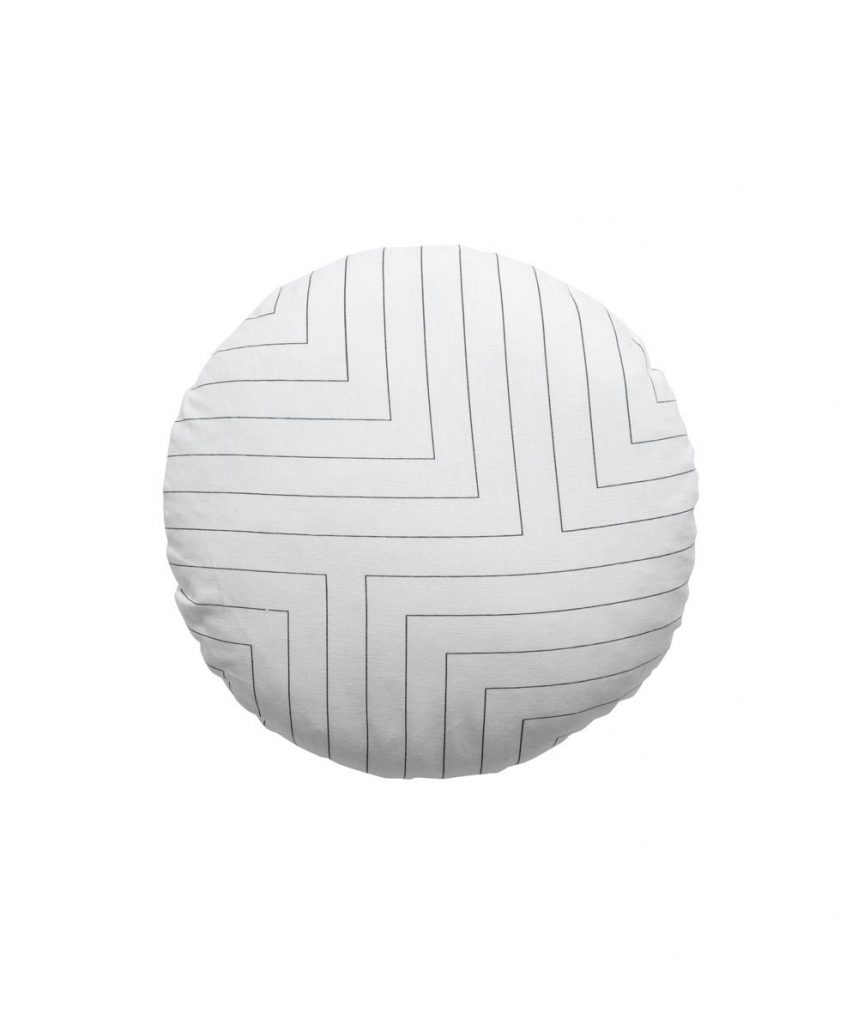
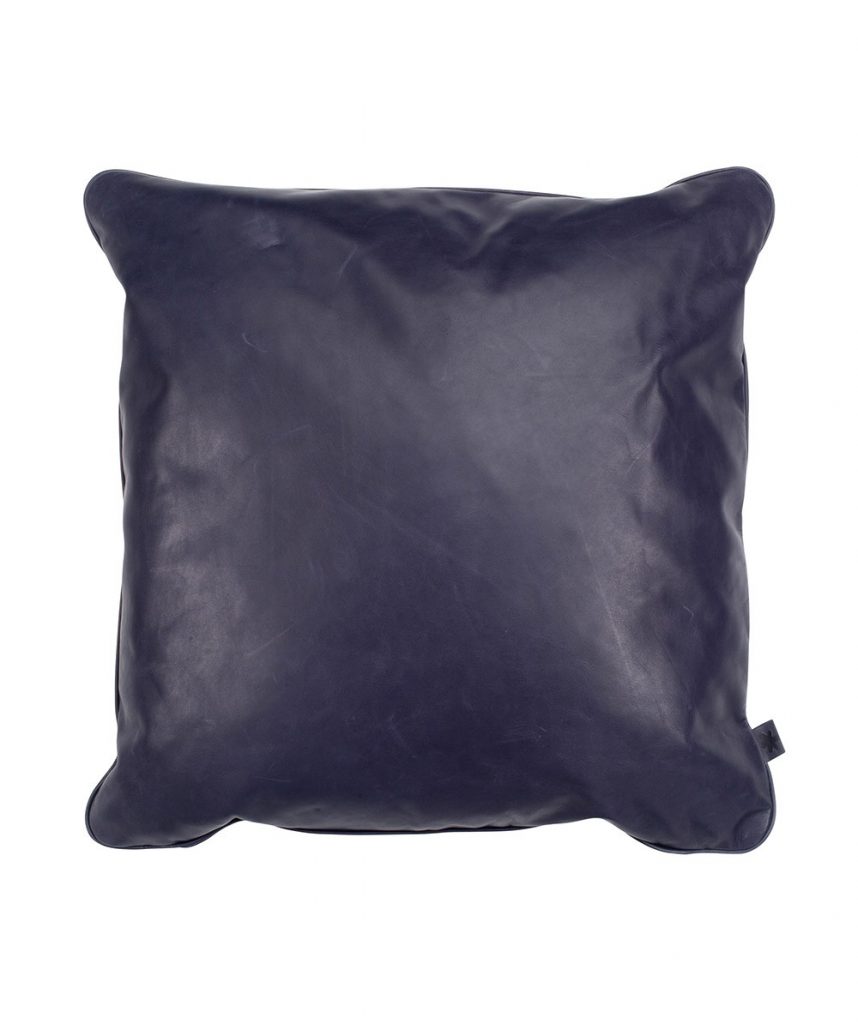
Ok so by now you should have a beautifully styled bed, but if you want to go to another level you can add in some cushions. There are a few options here (check out the video to see what they look like!) You could opt for one or two feature cushions. If you’d like one cushion, I think a rectangular cushion always create a nice balance. Alternatively you can bring in square or circular cushions for a more interesting dynamic.
There is no hard and fast rule about cushion placement, you can play around with a composition that you’re happy with. However when you’re styling cushions the trick to making them look great is to give them a little karate chop. You don’t have to go all Jackie Chan, but you do want to apply some soft pressure in the middle of the cushion at the top. This helps to break its shape to give your cushions more texture.
8. European way of life
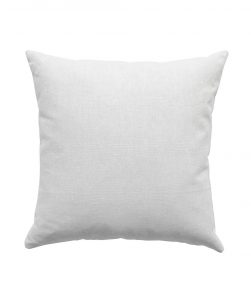
I love Euro pillows, they really help to create a sophisticated and plush look for your bed. They are much larger in size compared to a standard square cushion. Our Hunting for George European pillowcases measure 65cm x 65cm which is a standard euro size. Our entire Classics collection is available in matching euro pillowcases. I recommend always styling with 2, just one Euro will throw off the balance given it’s size. You have a few options you can 1) Place both Euros at the front of your standard four pillowcases 2) Place both Euros at the back of your standard four pillowcases or 3) Place one Euro at the back and the other Euro in between two pillowcases. The latter is my personal favourite as it creates lovely texture, whilst it’s not perfectly symmetrical it is still a well balanced composition.
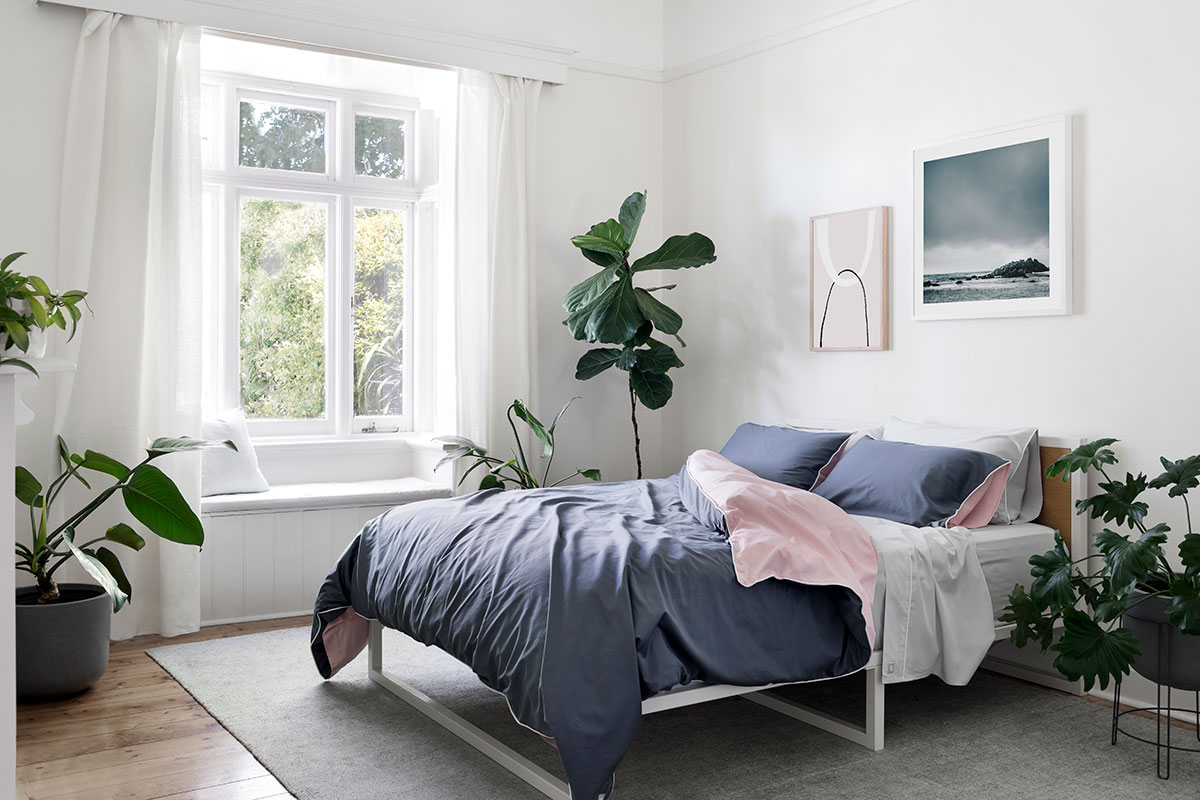
So that my friends is how I like to style my bed, I hope you found this helpful! Here’s a list of the products that I used to create this heavenly bedroom. There’s also plenty more where that came from and you can also shop our entire bedroom collection here.


