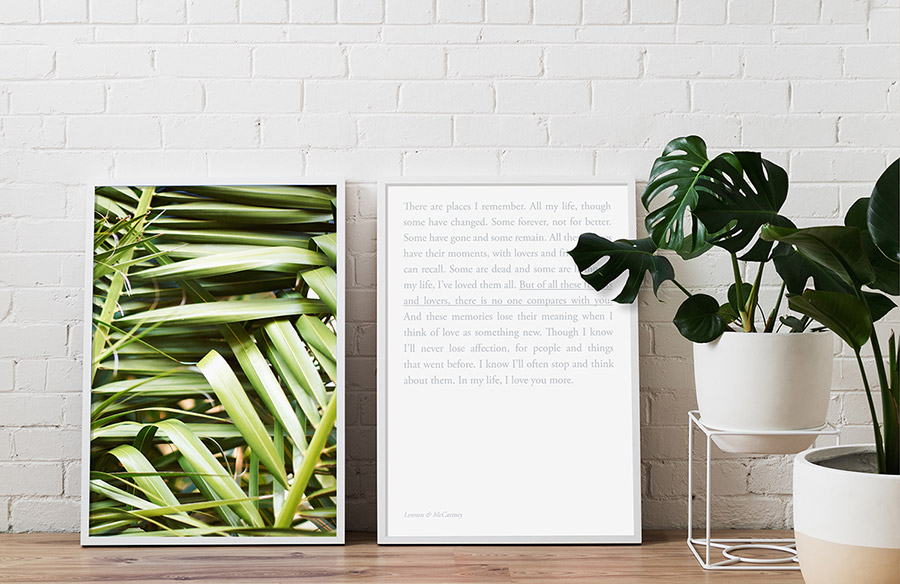
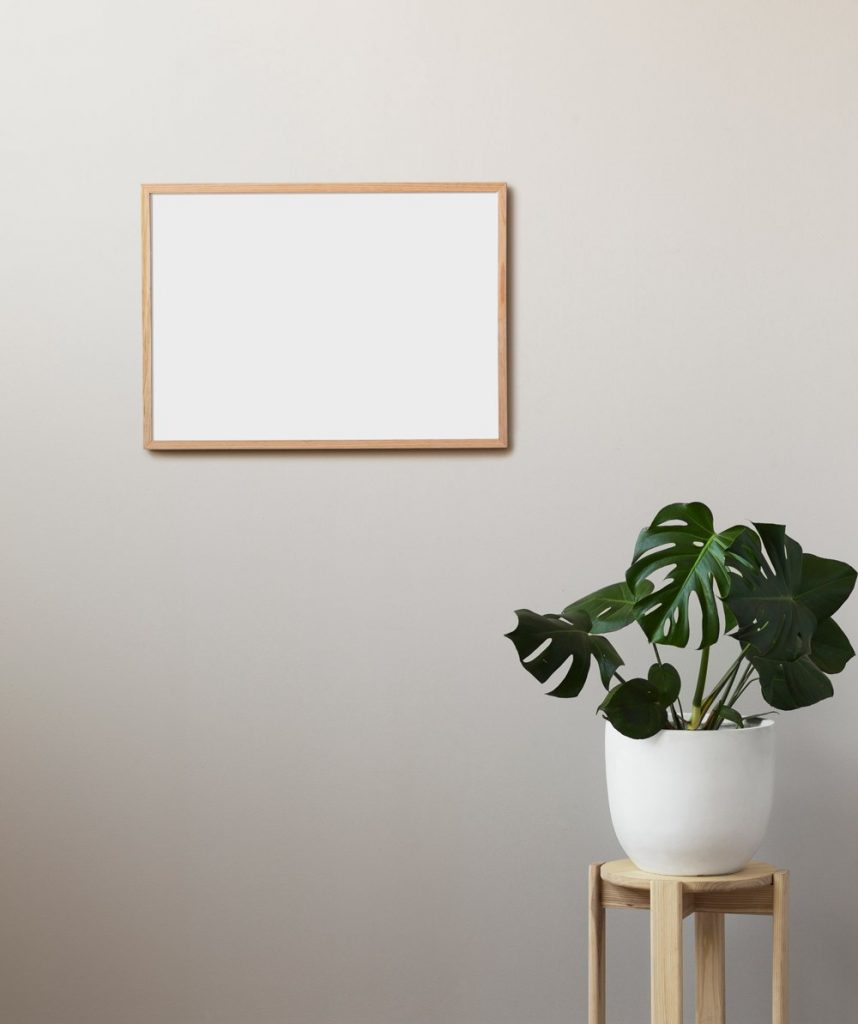
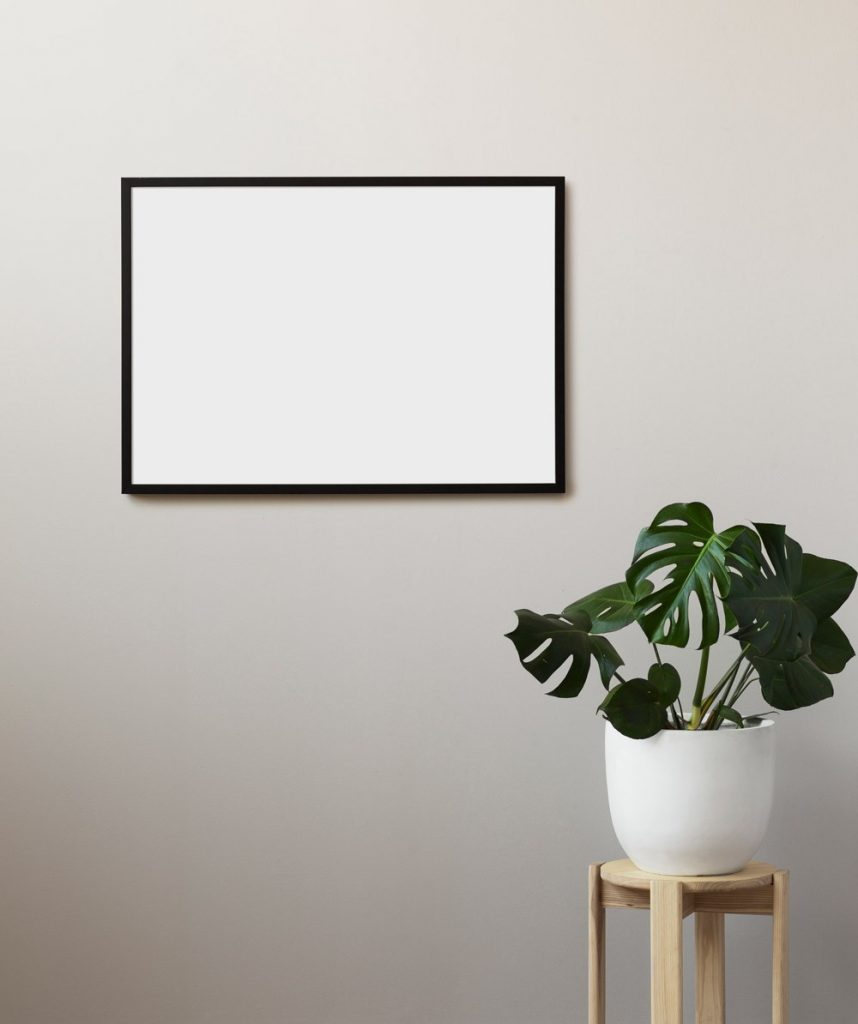
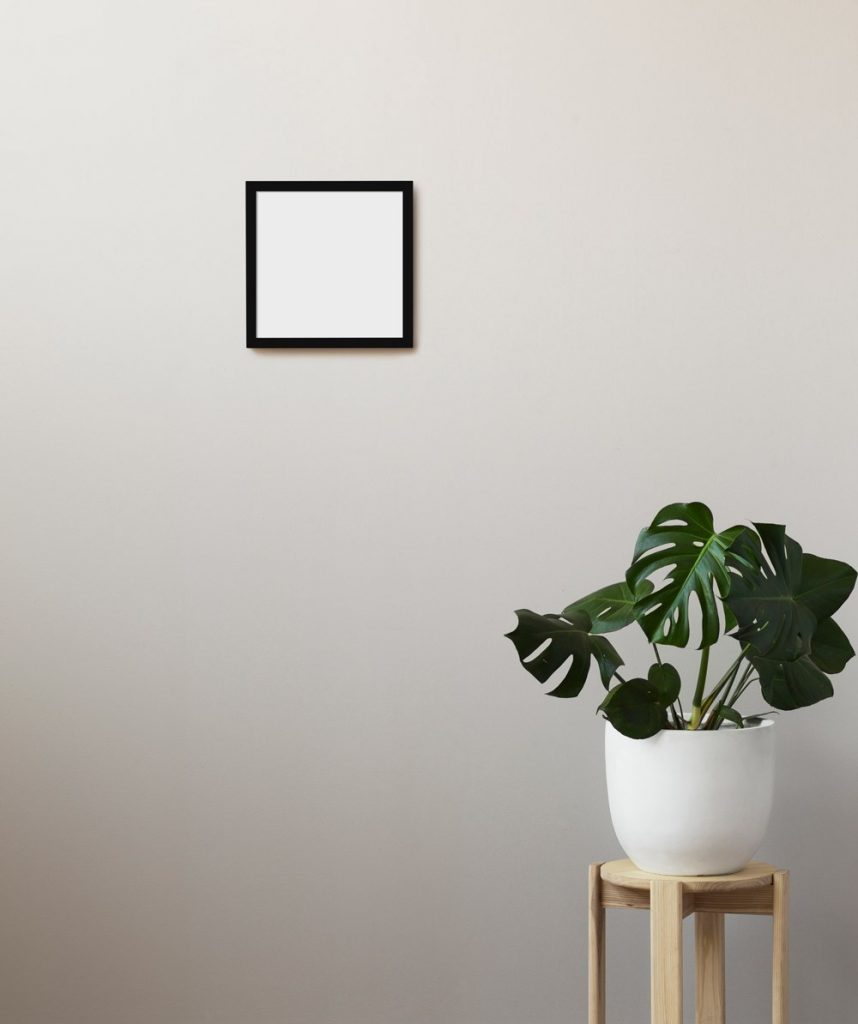
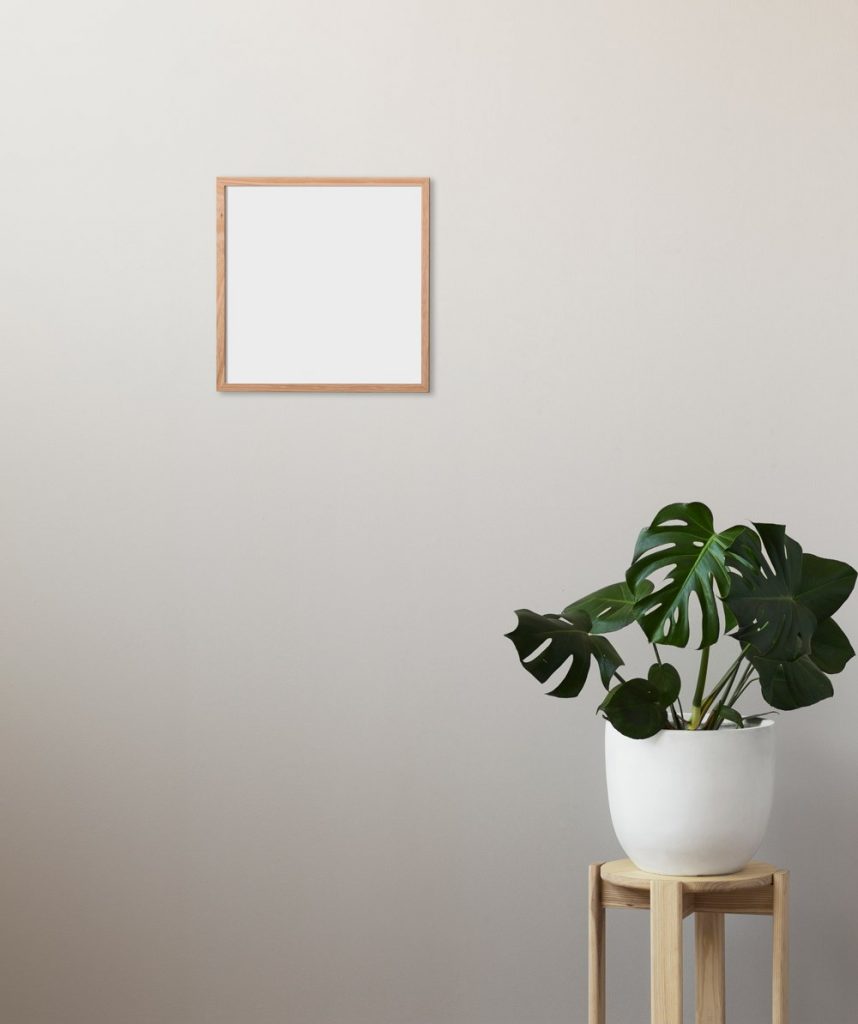
If you have previously bought or are considering to buy an art print from us, may we say you have excellent taste! What about the frame? No worries, our ready to hang frames fit our prints perfectly. No more fussing about with not-quite-the-right-size frames (we’ve all been there). Our custom made frames are designed to fit the entire Hunting for George art print collection. Australian made, these frames are sold pre-assembled with a multi-fit system to hang both portrait or landscape.
“We wanted to provide a complete offering to our customers and remove the additional (and often frustrating) step of finding a frame to fit your artwork. Now our customers can put their art prints straight on the wall with no lag time, and the multi-hang system we developed means that each frame is not limited in its orientation, allowing our customers more freedom in how they choose to use their frame in the future.” – Lucy Glade-Wright, Hunting for George Brand Director.
We want you to have the best possible experience with our product, so here are some basic guidelines on how to properly frame your new artwork. Please read the following carefully and if you have any further questions please contact us.
What to Expect
- If you ordered a print this will be packaged in a protective cardboard sleeve, separate to your frame.
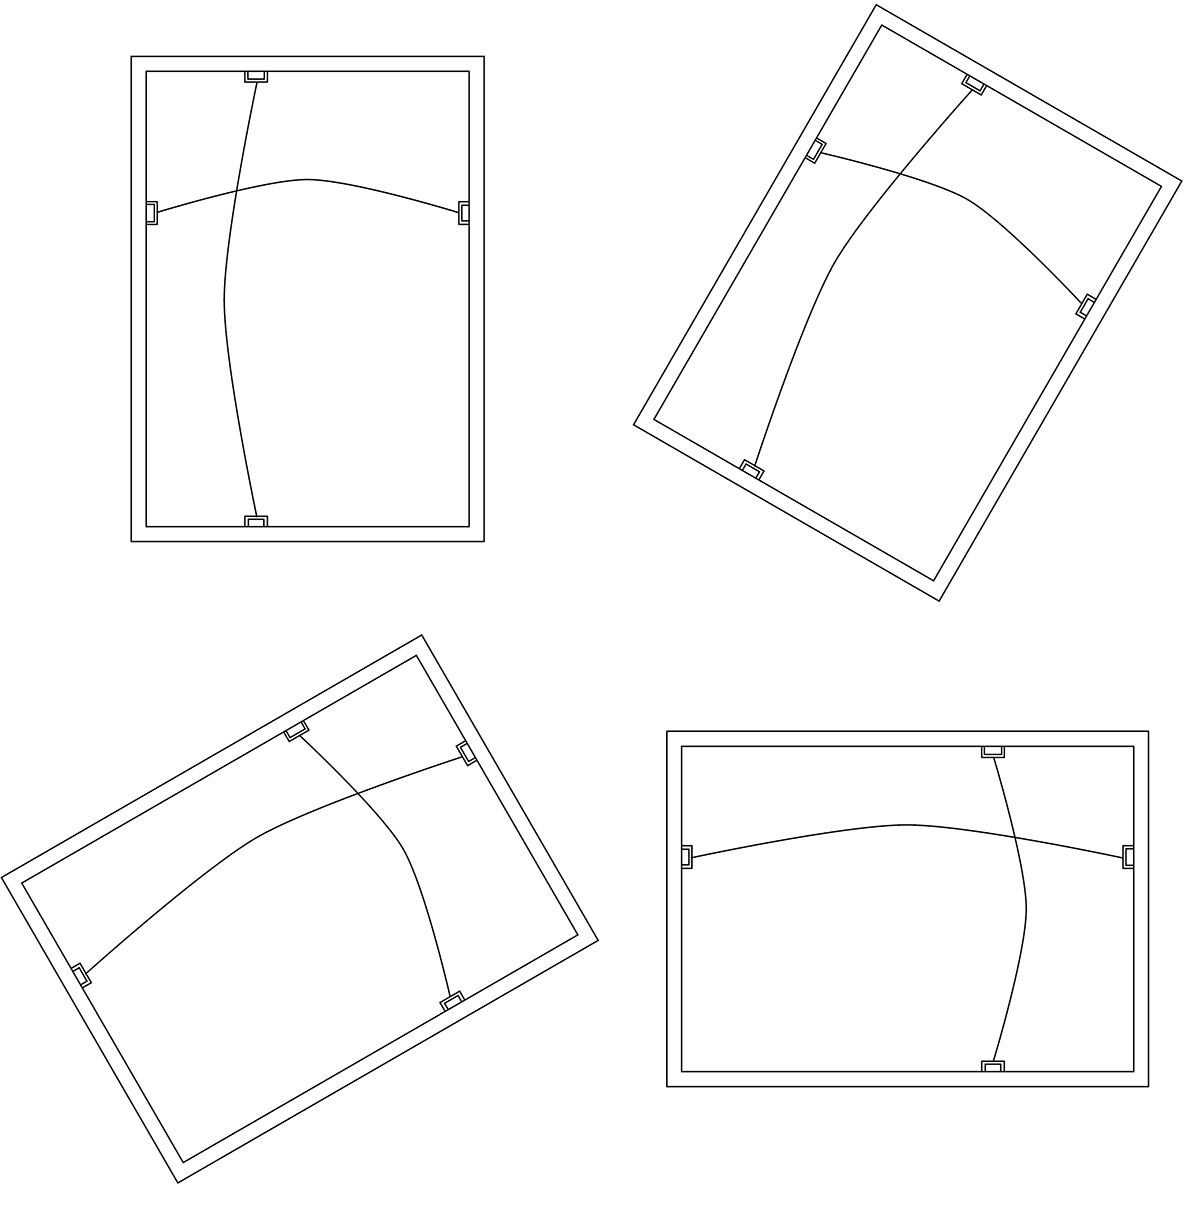
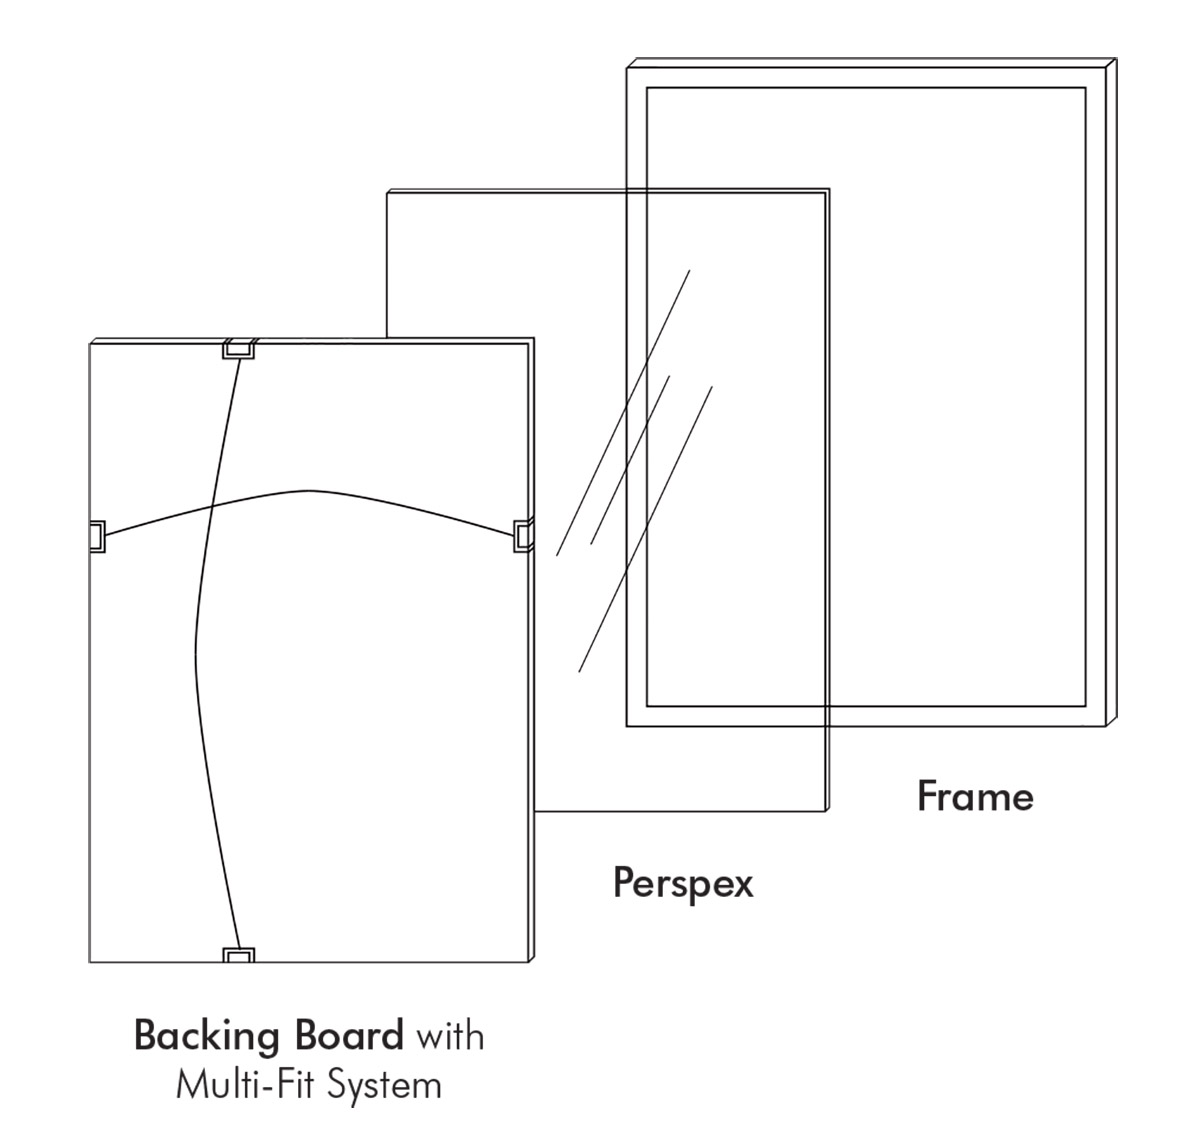
- Rectangle frames are fitted with a multi-fit hanging system, allowing you to orientate your frame portrait or landscape, no handyman skills required.
- Your frame has a clear perspex panel, not glass. It is more durable than glass but take care, it can still scratch. There is a protective layer on one side, simply peel off.
Frame Assembly
- Carefully remove the frame from the packaging and lie face down on a clean, flat, non-fibrous surface. A kitchen bench or dining table is ideal.
- On the back side of the frame use a butter knife to bend all the metal tabs back (flush against frame) and remove backing board.
- Carefully peel the protective sheet off the perspex. When you peel it off, it may generate static so avoid assembling on carpet or rugs. Take care of long nails or jewellery as this may scratch the perspex.
- Wipe down the perspex on both sides with a clean microfibre cloth to remove any fingerprints or things that may get trapped between the perspex and print.
- Carefully remove your print from the cardboard sleeve and place face down onto the perspex inside the frame.
- Place the backing board into the frame. Ensure the wire is orientated the correct way. Flatten down the metal tabs with the butter knife. You’re done! Pat yourself on the back and hang that frame!
FAQs
Why is my print not already framed?
Two reasons: choice and price. We want our customers to be able to pick and choose whatever frame and print they want. Our goal is to get the products in your hands as fast as possible at the most competitive price.
The perspex isn’t clear?
You may not have removed the protective layer from the perspex. It should be crystal clear!
I’ve changed my mind!
If you receive a product from us that wasn’t quite right, we are happy for you to return it. To be eligible for this, the product needs to be returned to us in its original condition and packaging within 14 days of receiving it.
Where was this product made?
All Hunting for George art prints and frames are manufactured in Melbourne, Australia.
These custom frames are made specifically to fit our art prints. They come pre-assembled with a multi-fit system and are supplied with a solid 3mm MDF backing and high quality, super clear and strong 3mm perspex glazing.
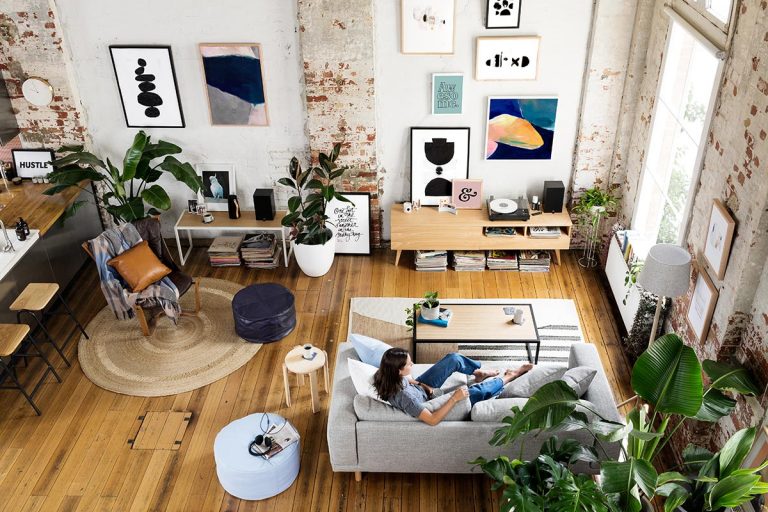
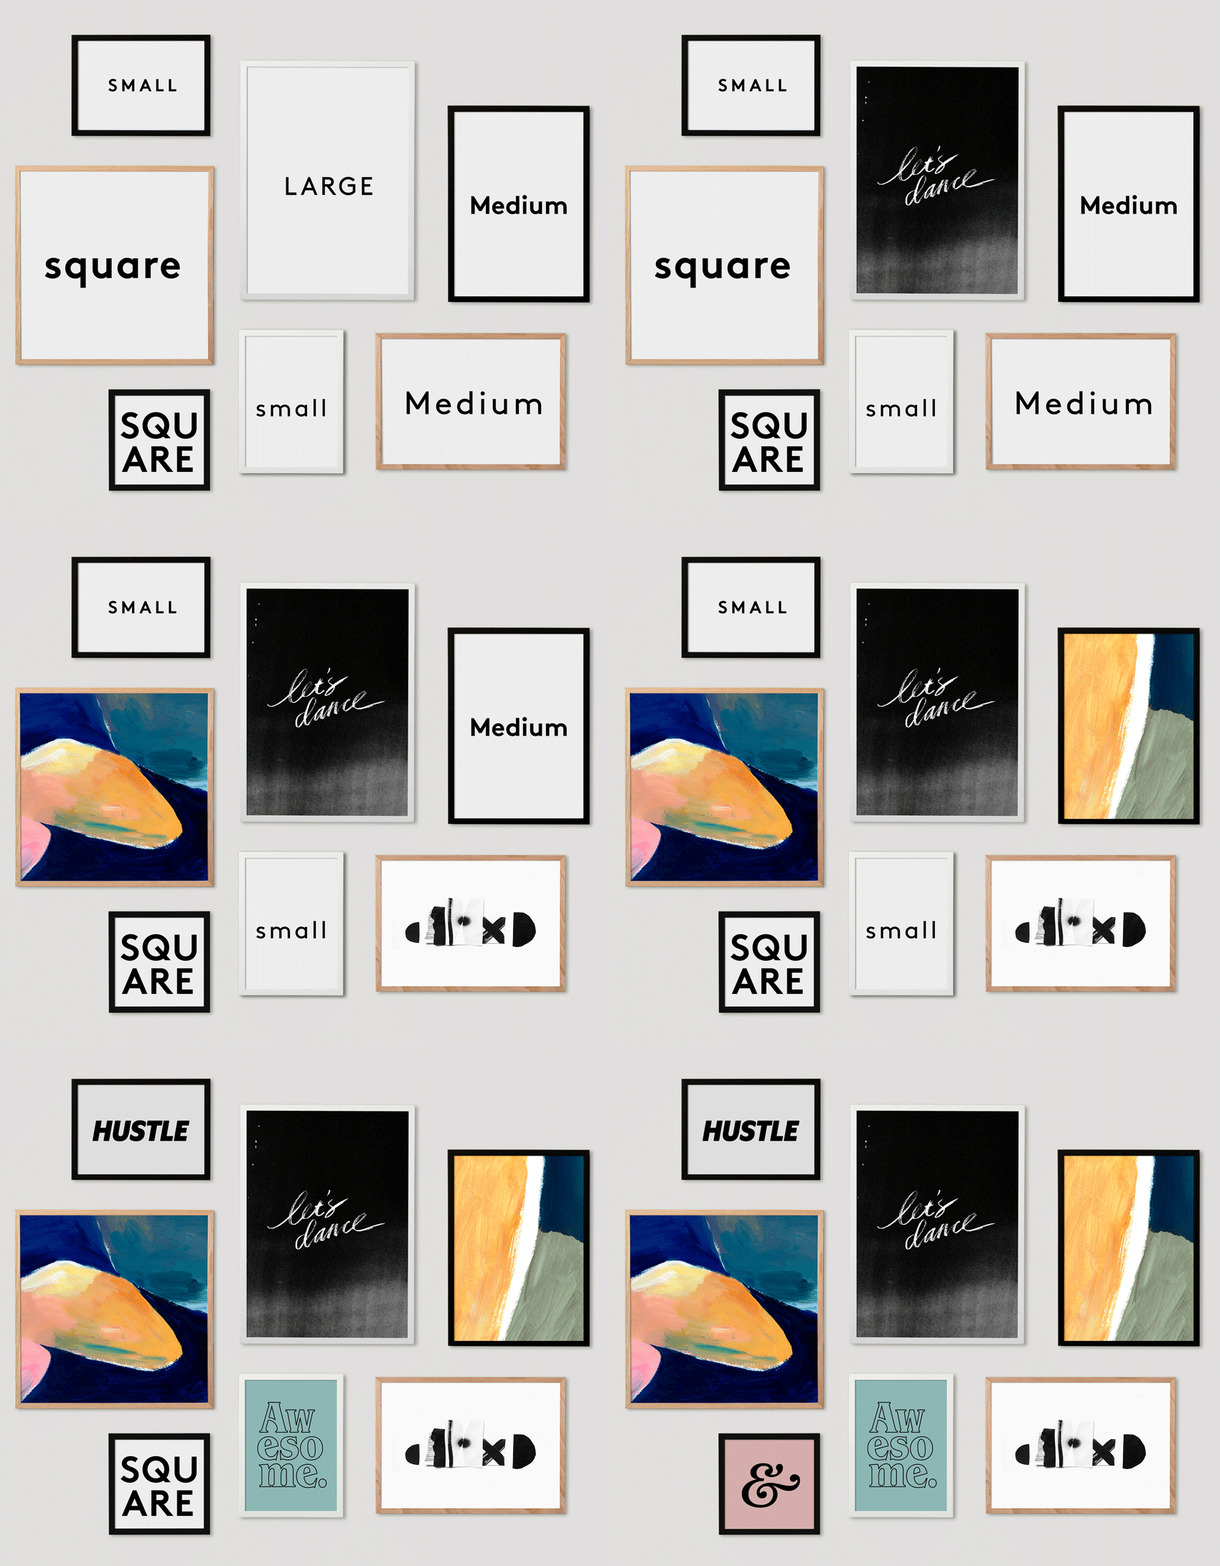
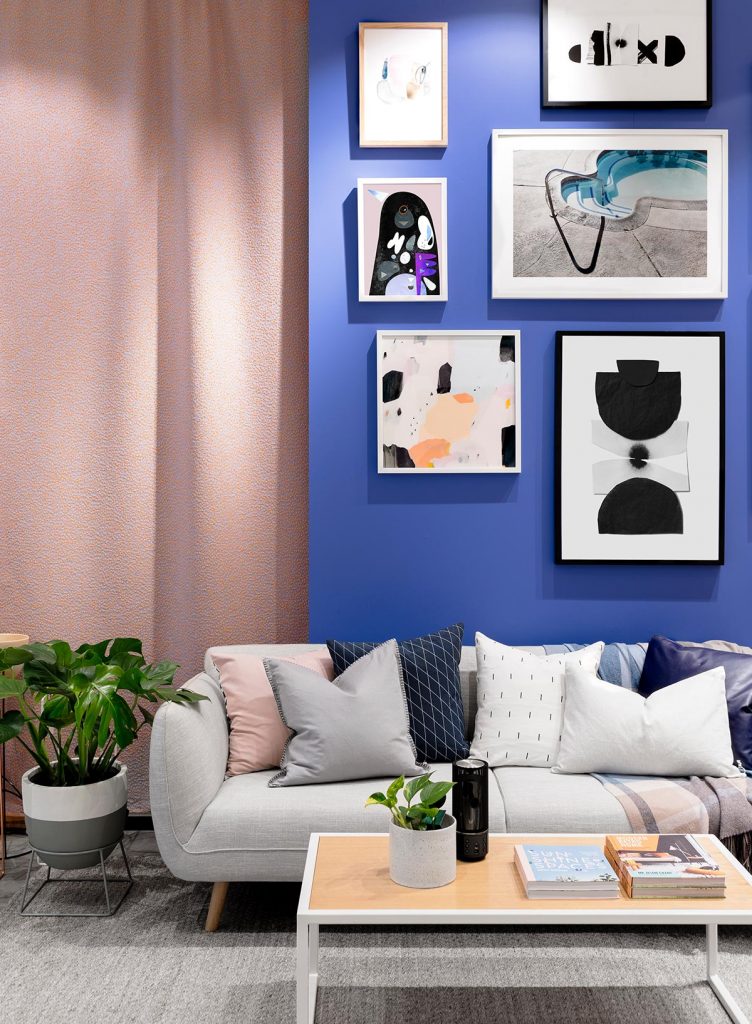
If you’re still reading and now you’re feeling inspired to get some more art on your walls, then how about creating a Gallery Wall? Check out our tips on How to Create Your Own Print Gallery Wall and go forth and conquer! If you’re opting for a more specific look for those walls, we also have a guide on How to Style Abstract Art Prints in Your Home, as well as Typographic Art Prints.
Shop the full range of Hunting for George Art Prints here.


