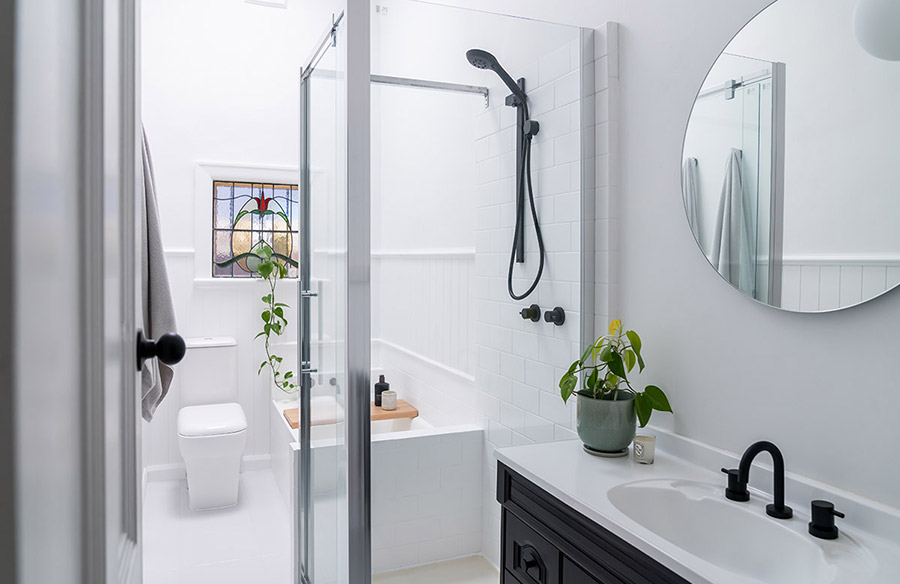
This week we take you behind the scenes of our recent Bathroom Makeover! The smallest room in our home but one of the hardest to renovate! This small space needed a lot of hard work and DIY. In order to save money we decided not to make any structural changes, so this was a ‘simple’ renovation but with a very impressive transformation! Originally the bathroom was dated, daggy and uninviting. Our goal? To transform it into a contemporary and welcoming retreat. Did we pull it off? See for yourselves…
The painting of the bathroom was extensive, to say the least. After all, we painted everything, even the tiles! The saving grace of this entire bathroom transformation was the Dulux Renovation Range from Bunnings. We painted all of our tiles, both on the walls and on the floor. Not to mention we also modernised our existing cabinet and walls.
After prepping and cleaning the tiled areas we used the Dulux Plastic and Laminate primer. Then I selected Dulux Vivid White to cover the wall tiles with the Renovation Range for Tiles and Benchtops For the Floors I opted for Snow Season (a soft light grey) using the Renovation Range for Floors. At first I was quite nervous about applying the renovation range however it proved to be quite easy. The hardest part was probably the cleaning and prepping of the surface. If you do that process well though, the application is a breeze.
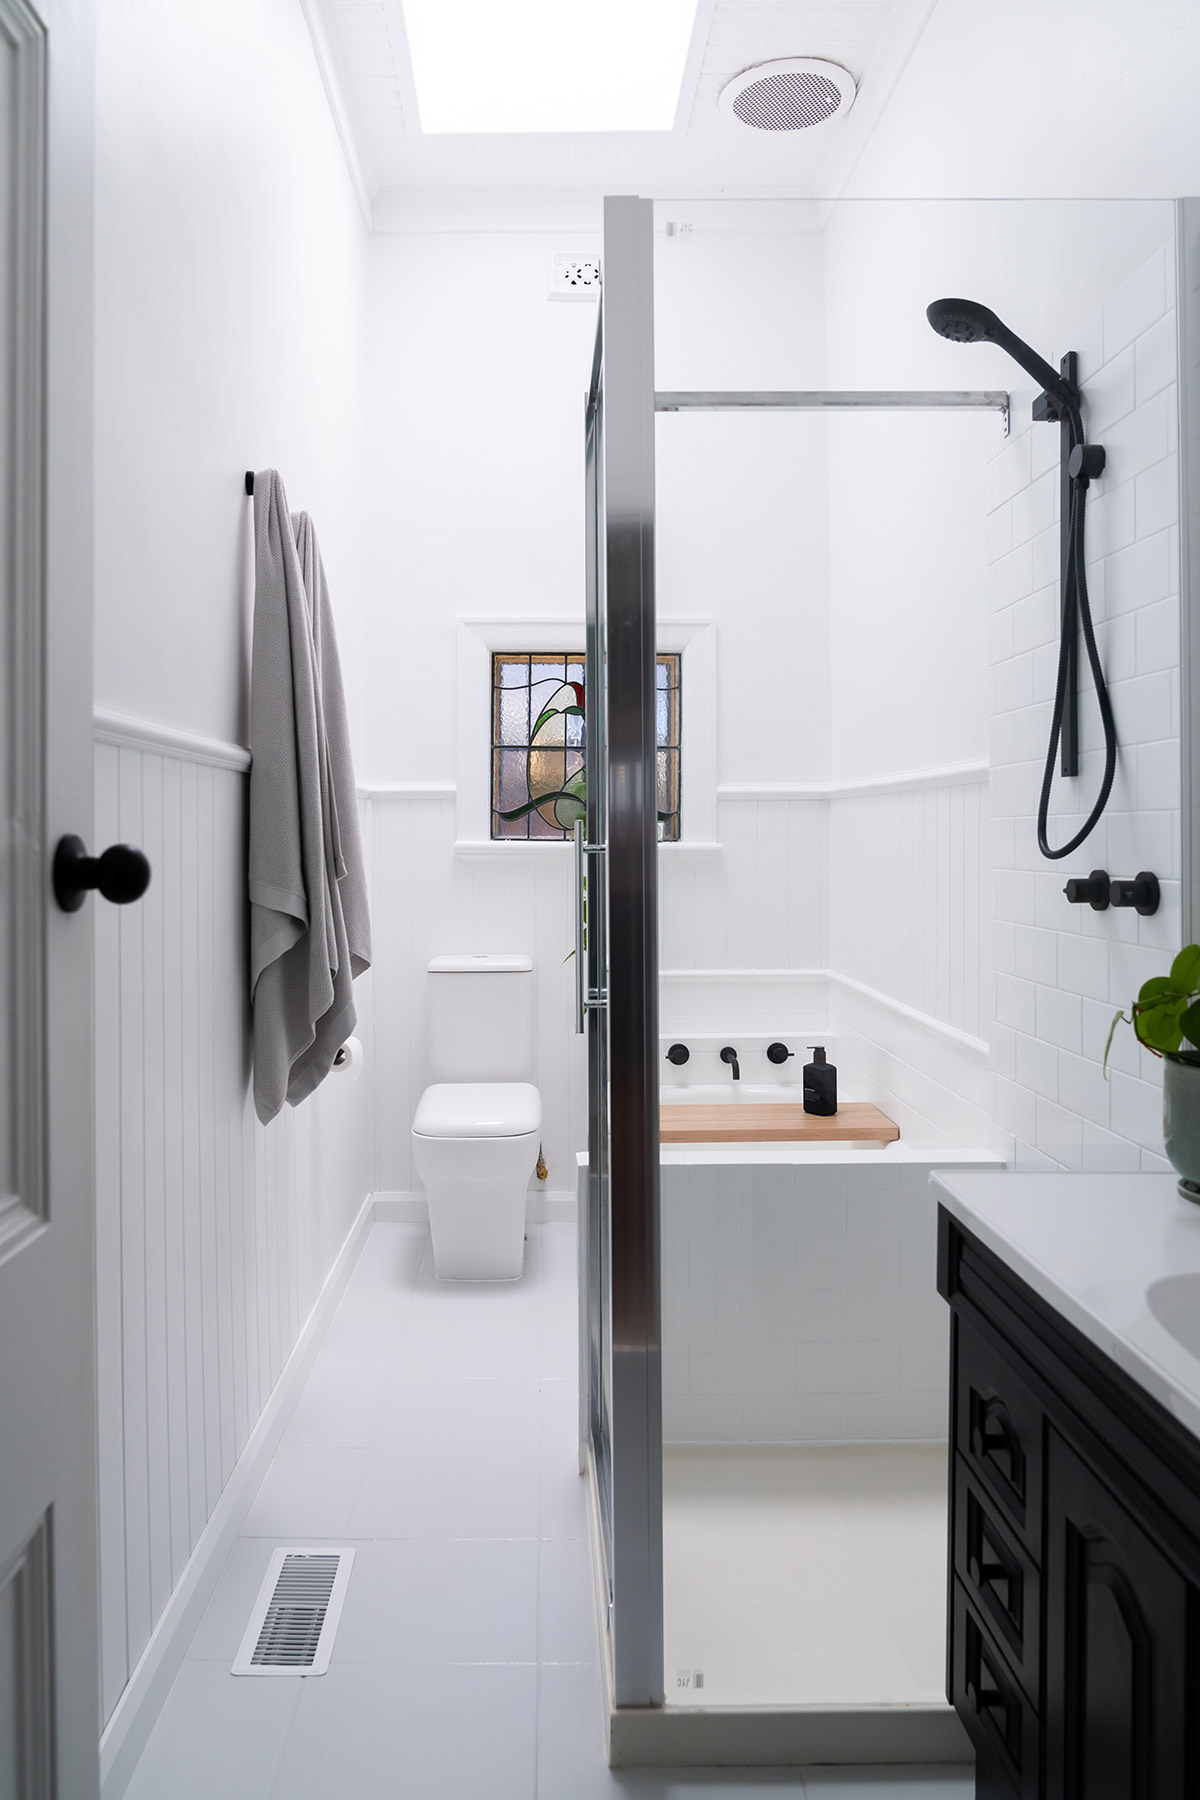
On the walls I opted for a fresh cool white: Lexicon Quarter. This became my go-to white for my entire home. I have a lot of cooler tones and decor in my home, so this was a great fit for me. Also, I wanted to get as far away from the existing yellow/cream tones as possible! I painted the walls with Dulux Wash & Wear PLUS Kitchen and Bathroom
Once I had painted the entire bathroom it looked ten times better however it was really lacking texture. There was a very tall, flat wall that I wanted to break up so I installed some Easycraft Easyclad panels (specifically for wet areas) along the base of the wall. These brought in a subtle but important change, bringing much needed texture and warmth to the space. They were an absolute game changer that really brought the room to life.
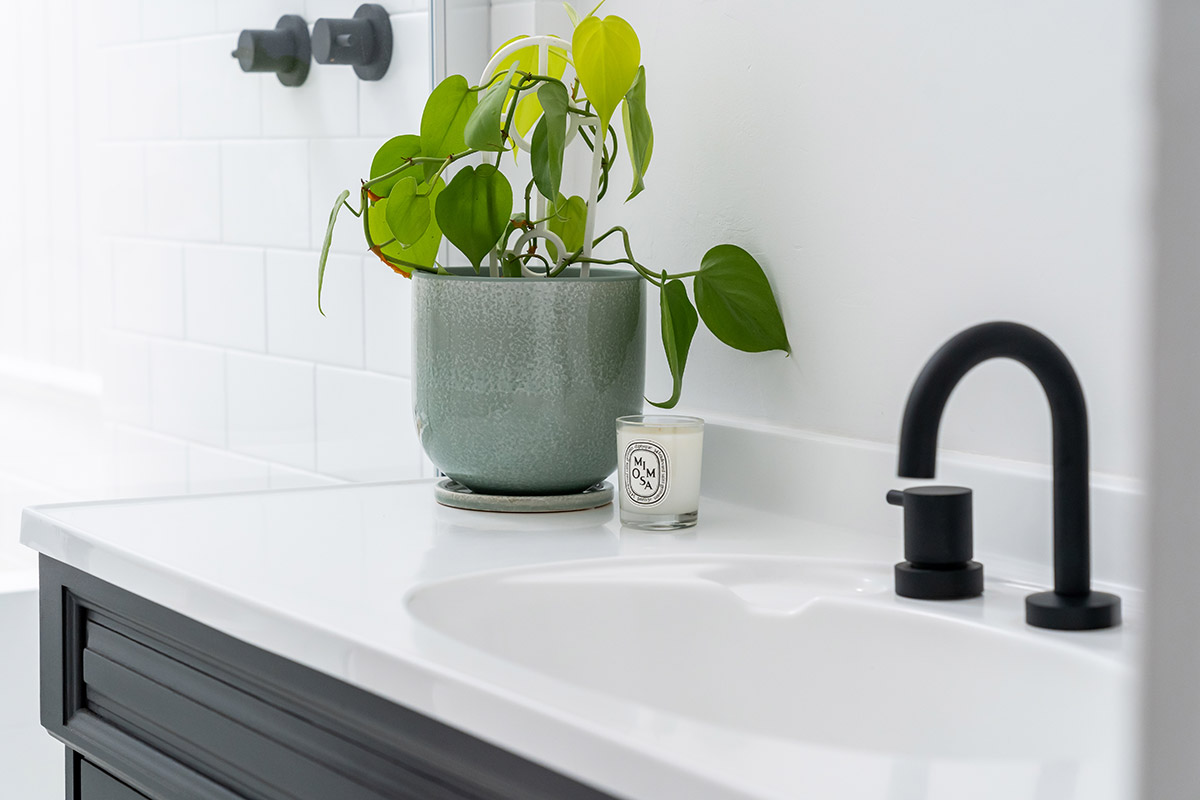
As for fixtures and fittings it was out with the old and in with the contemporary matte black. This transformed the room almost immediately.
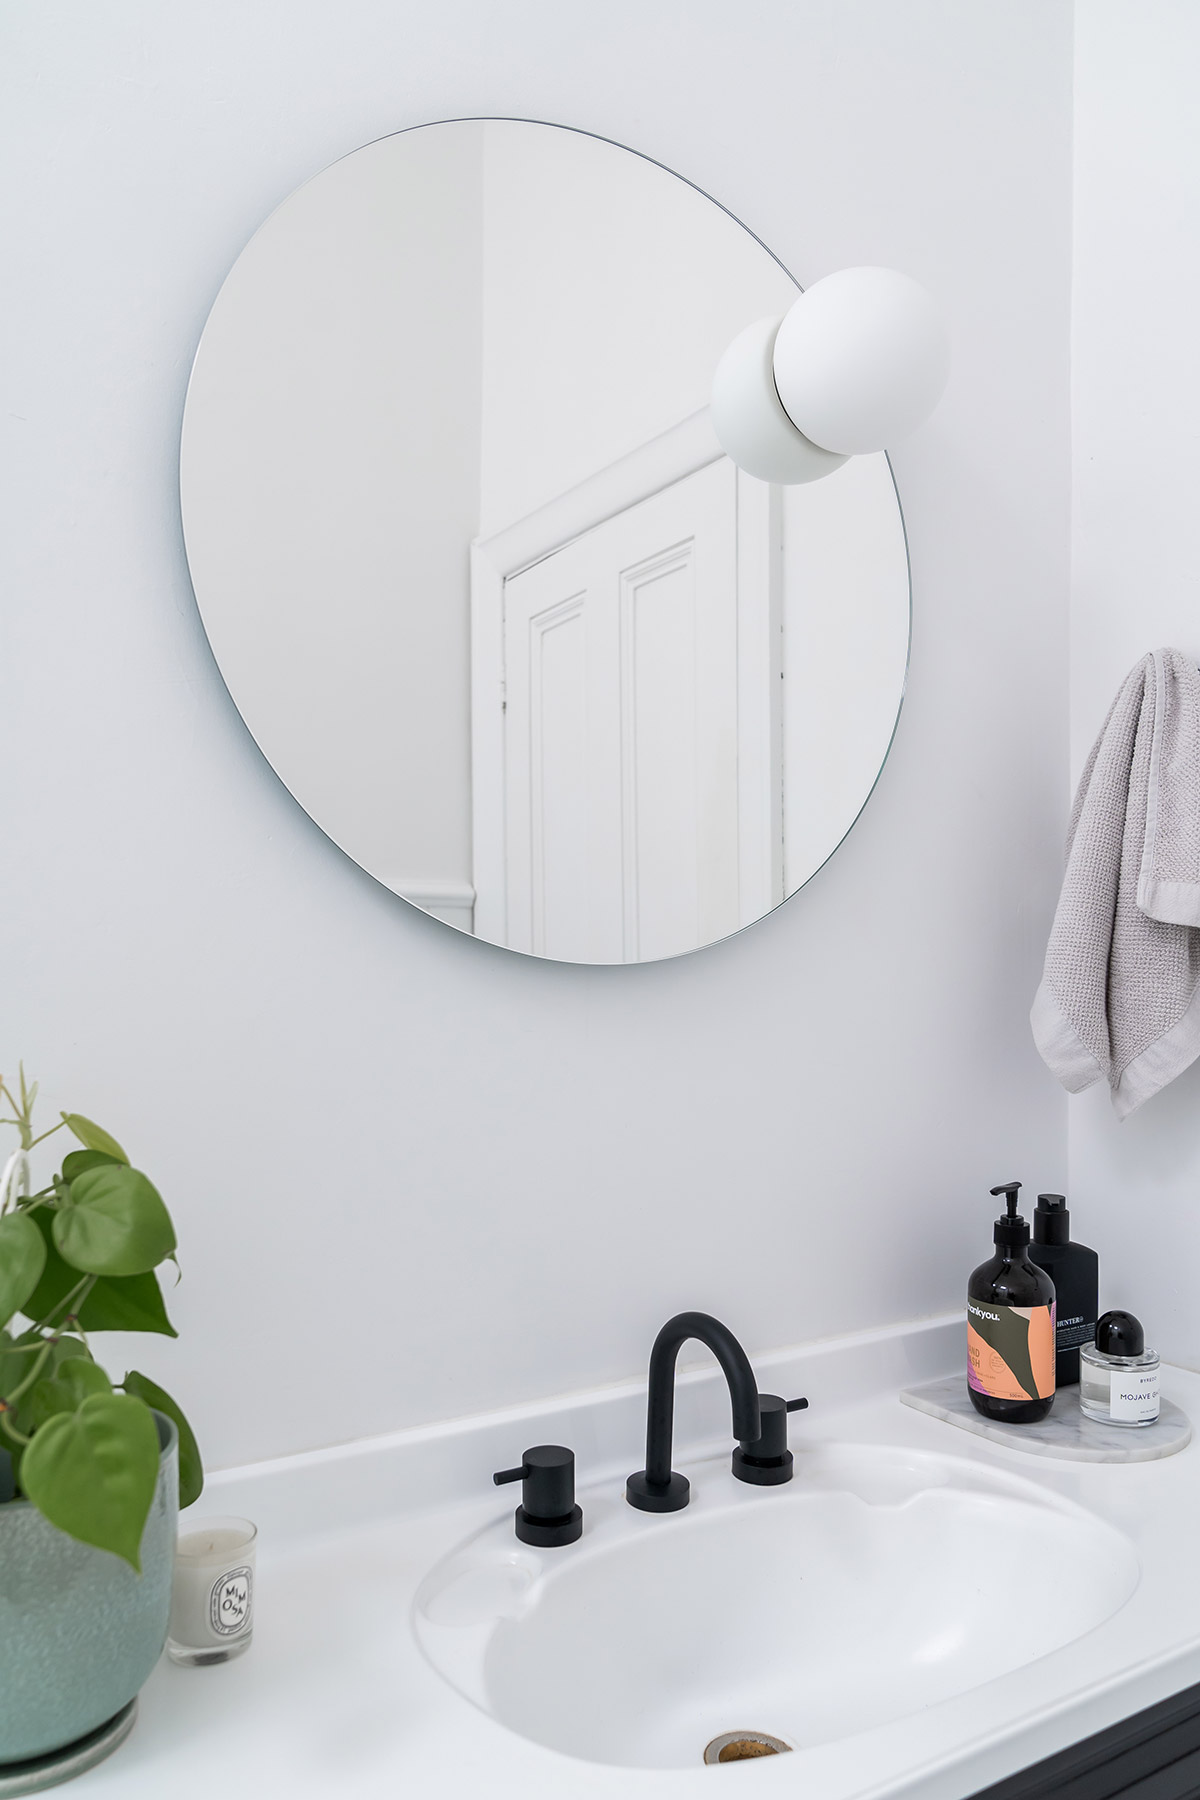
The absolute HERO of the room (every room needs one!) was without a doubt the Circ Mirror from Lights Lights Lights. This makes a grand, modern statement upon entering the room and was just what I needed to elevate the entire tone of the bathroom.
Watch out later this week when we’ll be sharing some further tips on How To Save Money in the Bathroom as well as our total costs involved in this Bathroom Transformation. PLUS, we share all the products we used in this makeover… so stay tuned!
If you enjoyed this makeover and want some more… check out our DIY Living Room Makeover and how to Get The Look!





Hello – just wondering the colour choice of your vanity. Thank you